 Speed up your innovation with Glows.ai, Scale up your large model training
 Datadrive Desktop App User Guide
This guide will help you get started with the Glows.ai Datadrive Desktop App, an extension of the Datadrive feature from the Glows.ai web platform. It provides a more flexible cloud data management experience, enabling you to upload, download, and sync files between your local machine and the cloud more efficiently and reliably.
With the Datadrive Desktop App, you can easily browse, edit, and manage multiple Drives, and also import resources from external sources such as GitHub and Hugging Face, supporting faster project integration, deployment, and backup for individuals or teams.
Step 1: Install the Datadrive Desktop App
Visit the Glows.ai official website and click Product in the top navigation bar.
In the dropdown menu, select Datadrive (as shown below) to go to the download page.
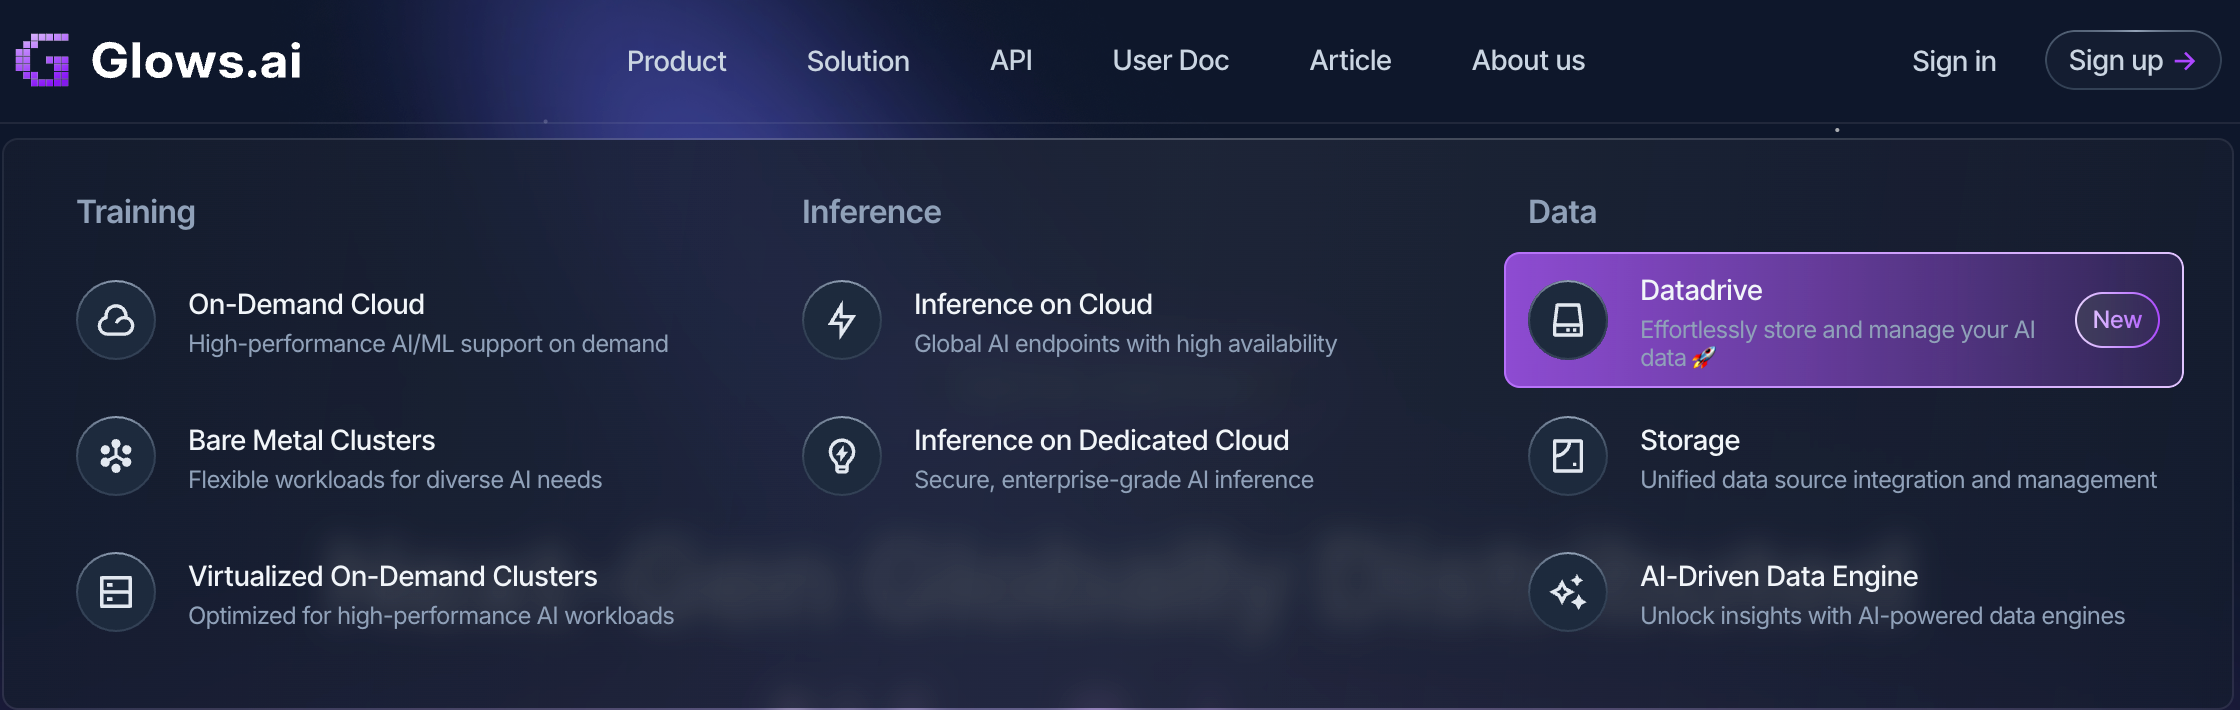
Or go directly to the download page: 👉 https://glows.ai/datadrive
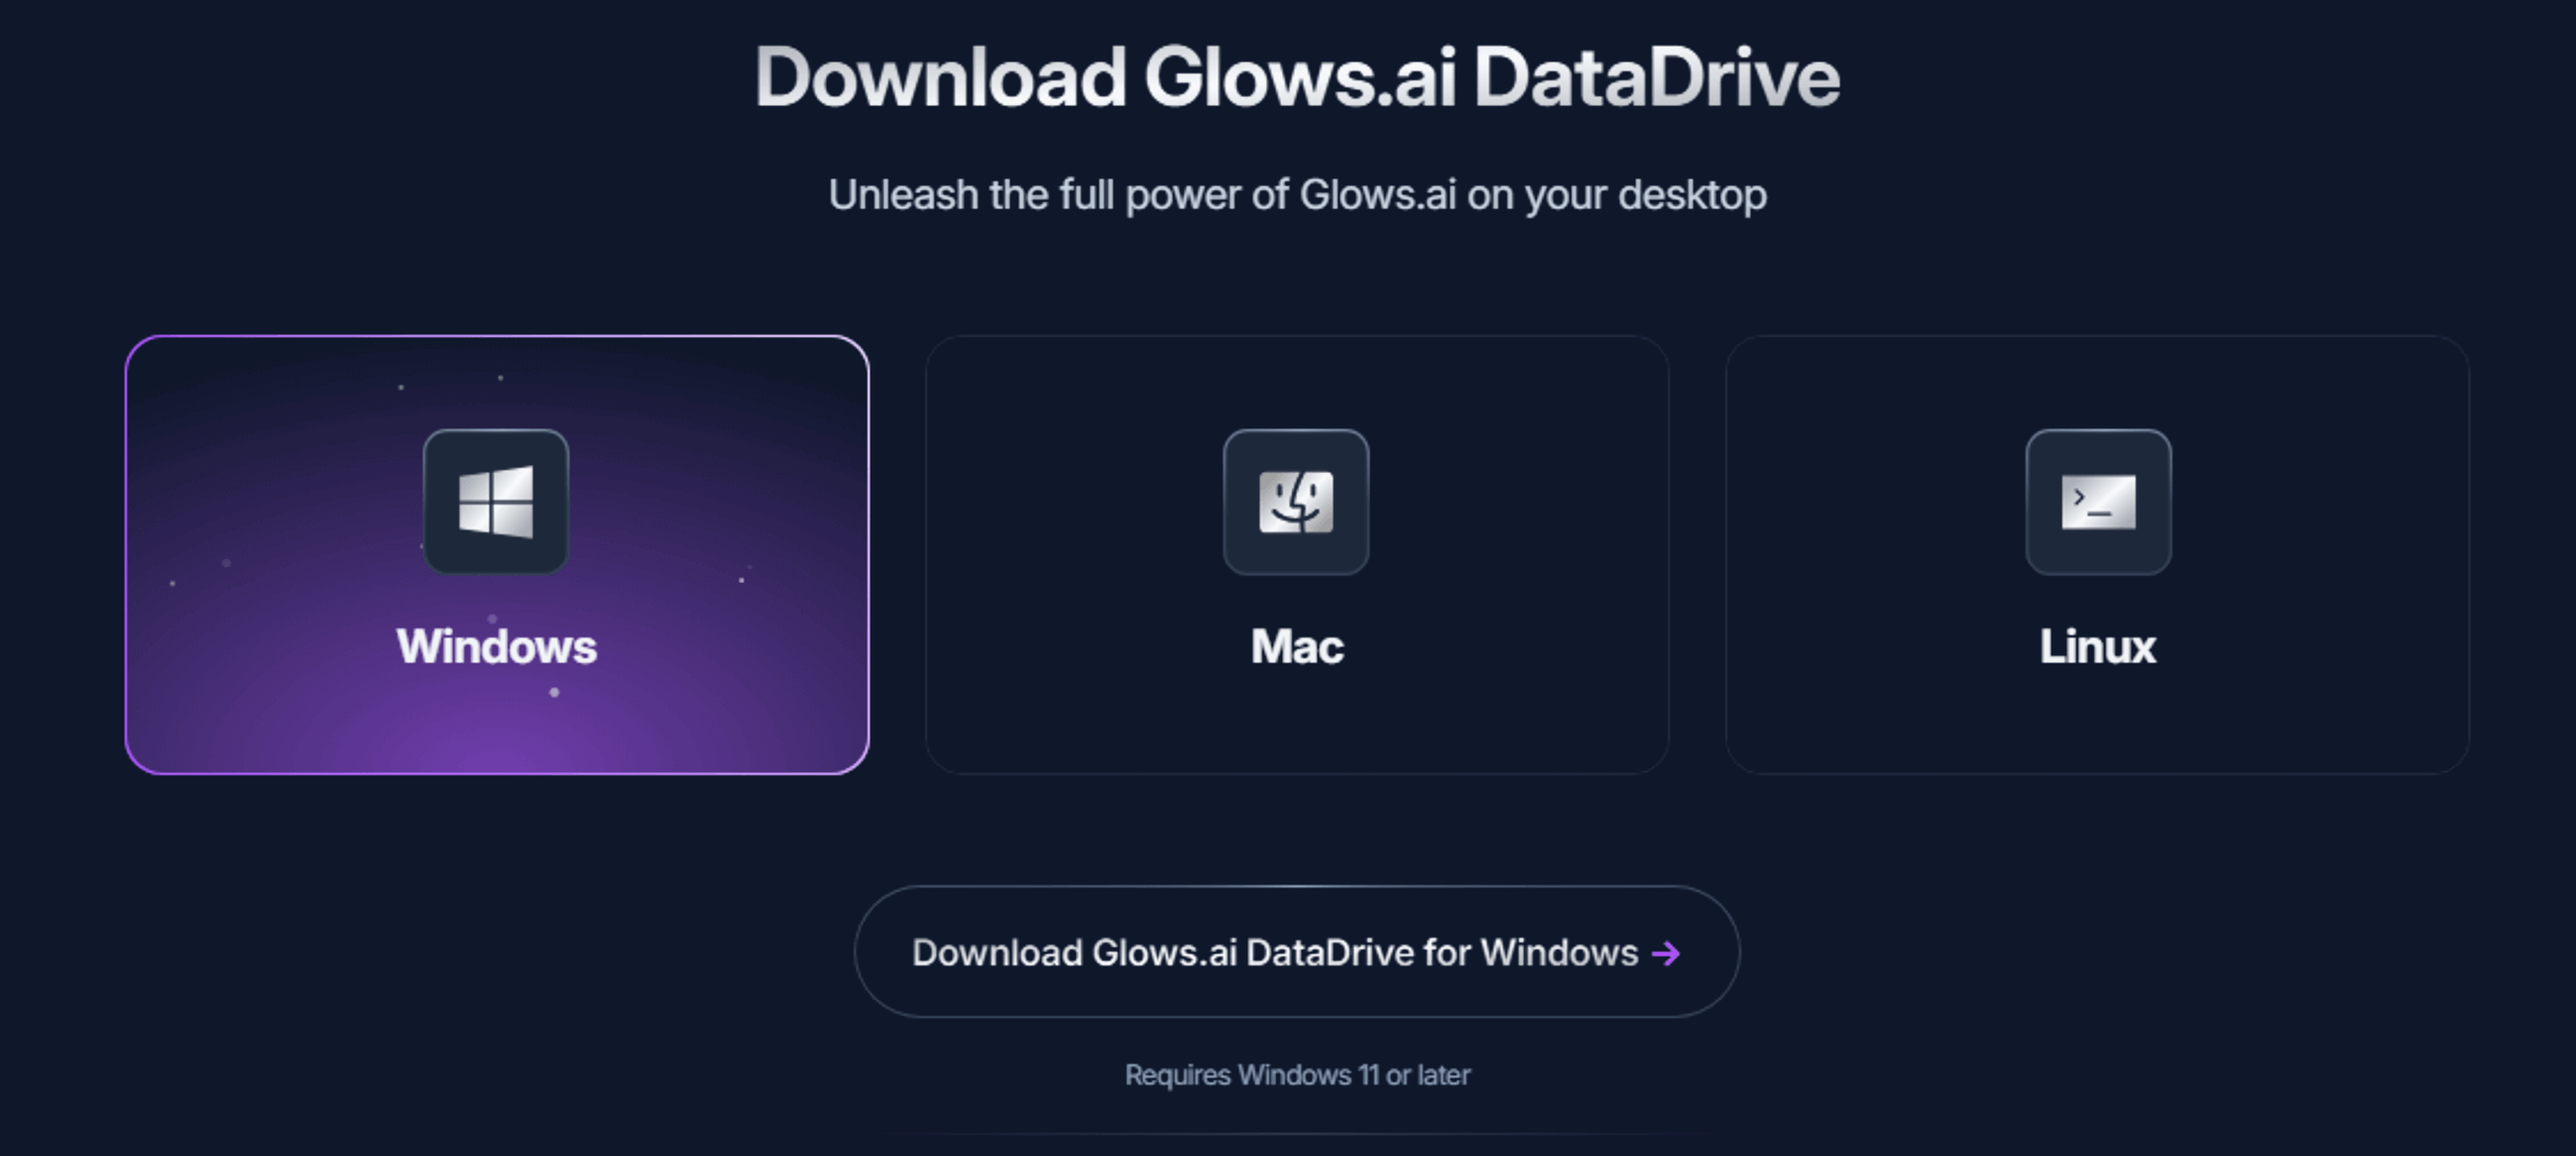
Please download the version that matches your operating system. Currently, Windows and Mac are supported. More operating systems will be supported in the future — stay tuned!
Windows Version
- Download the installer and double-click to run it.
- Follow the on-screen instructions to complete the installation and launch the Datadrive Desktop App.
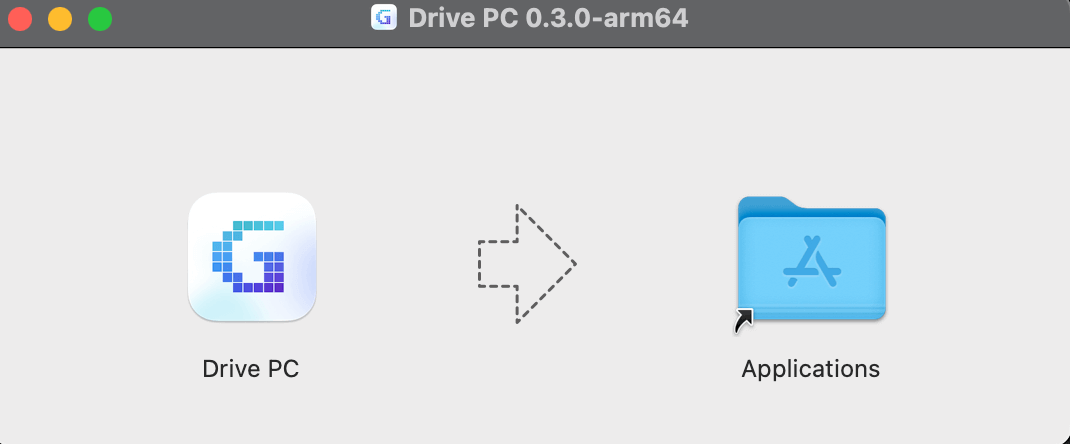
Mac Version
- After downloading, drag the
Drive PCapplication into yourApplicationsfolder (as shown below). - Click the app in your
Dockto launch it.
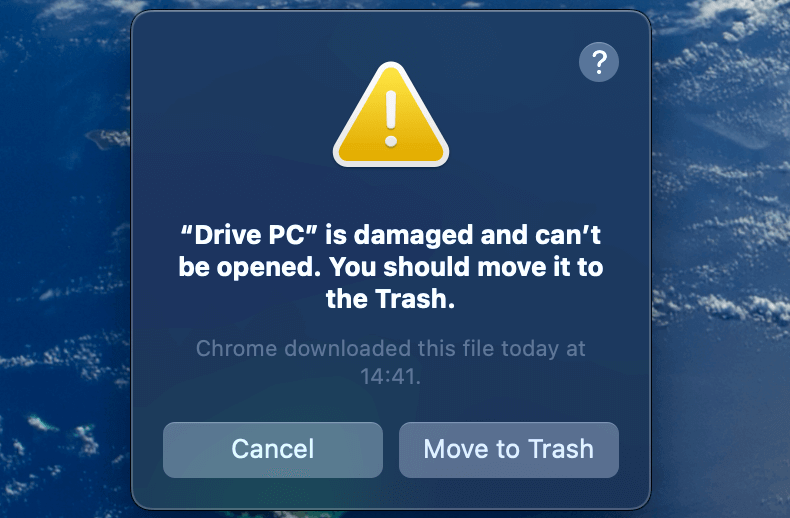
If you see the error message
"Drive PC" is damaged and can't be opened...open theTerminaland run the following command to remove the restriction:
sudo xattr -rd com.apple.quarantine "/Applications/Drive PC.app"
Step 2: Sign In to Your Account
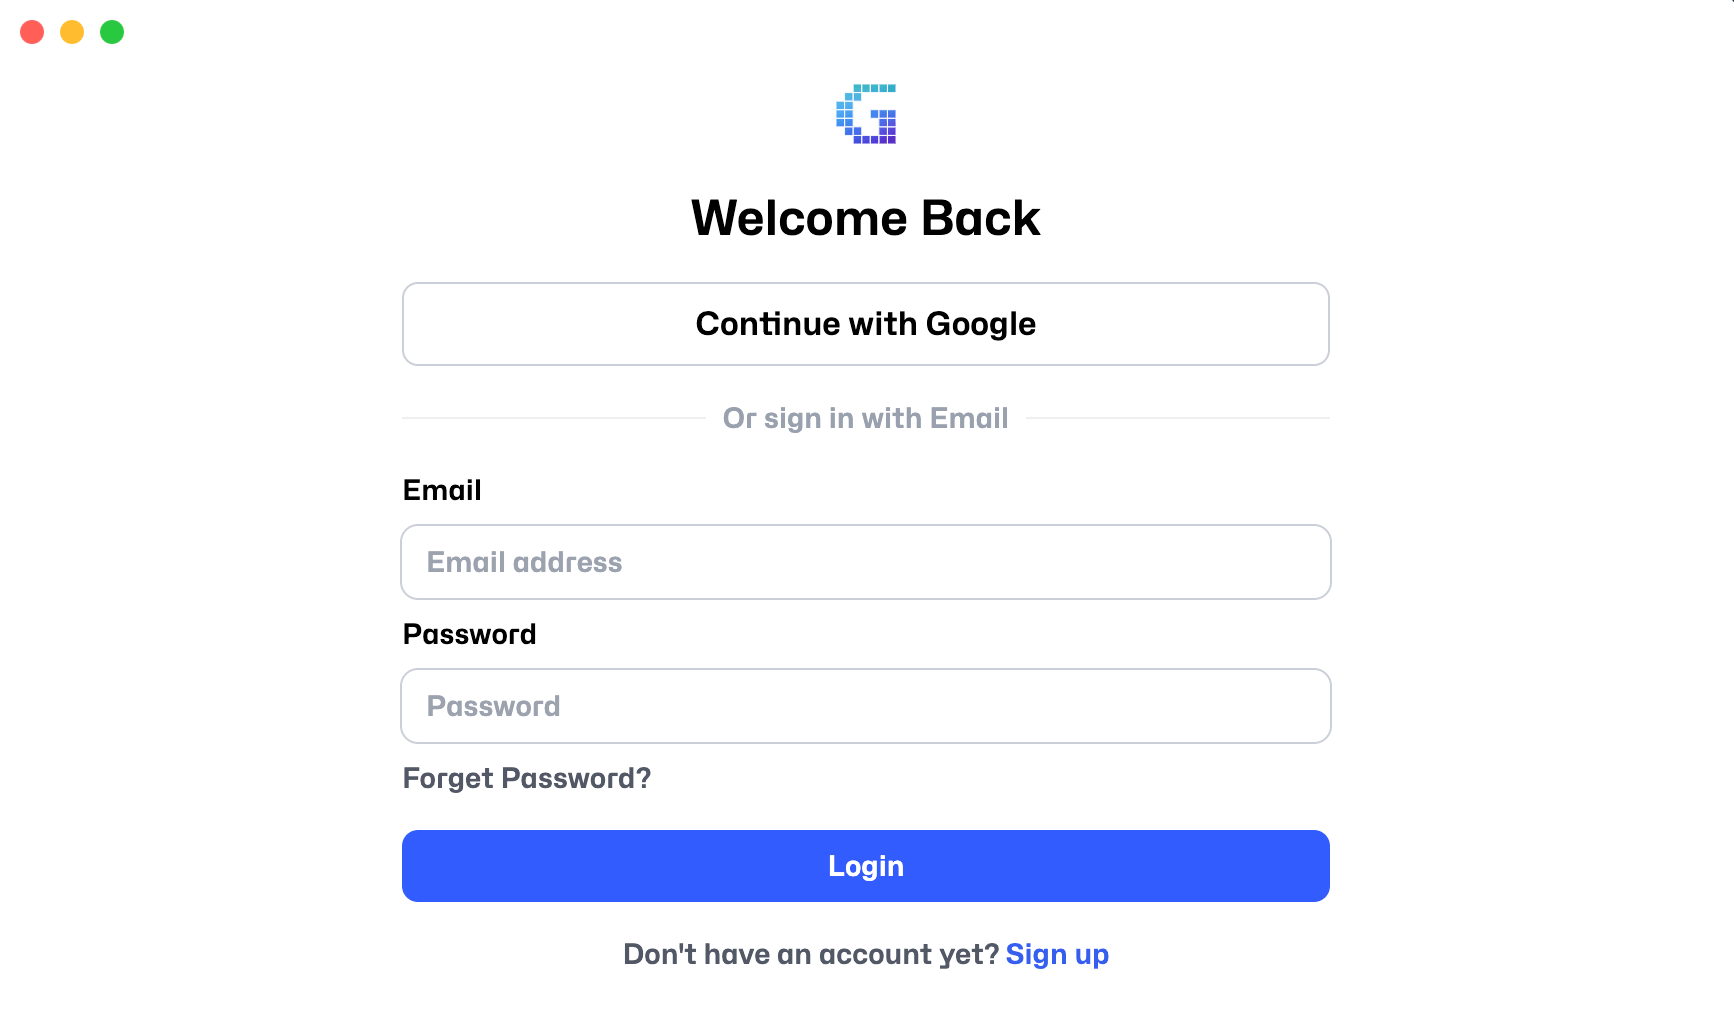
After launching the Datadrive Desktop App, you can log in using one of the following methods:
- Click
Continue with Googleto sign in with your Google account. - Enter your Email and Password, then click
Login. - If you don’t have an account yet, click
Sign upon the login page to create one.
Step 3: Manage Existing Data
After logging in, you will see the Dashboard, where you can monitor the used and available storage for Drives in different regions.
More management features such as Instance and Snapshot will be added in future updates.
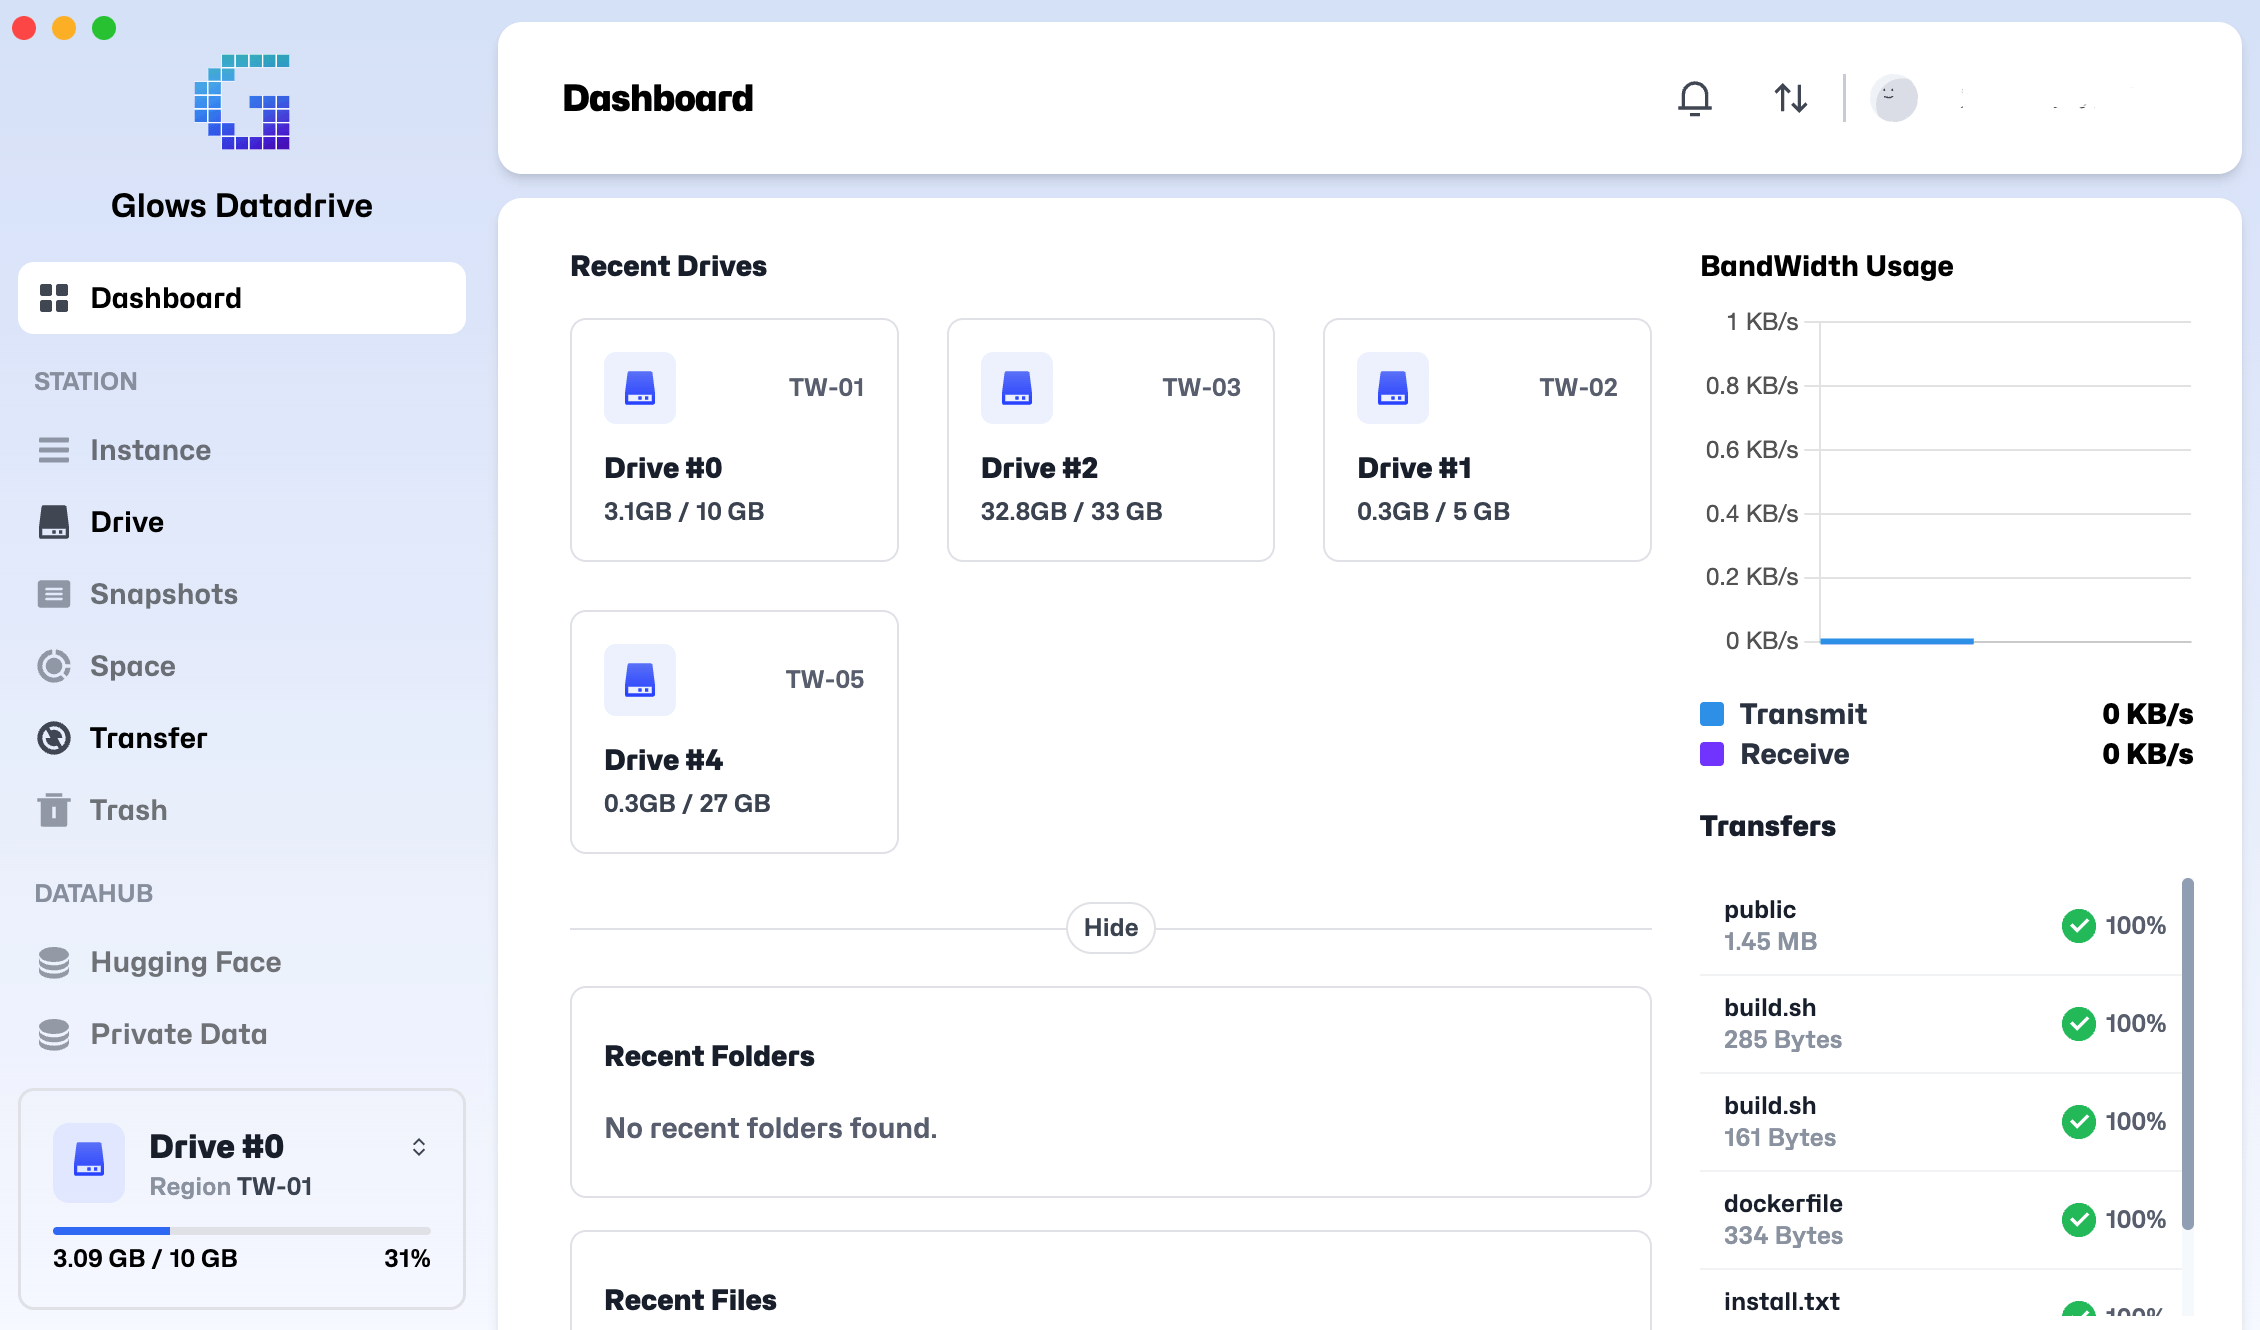
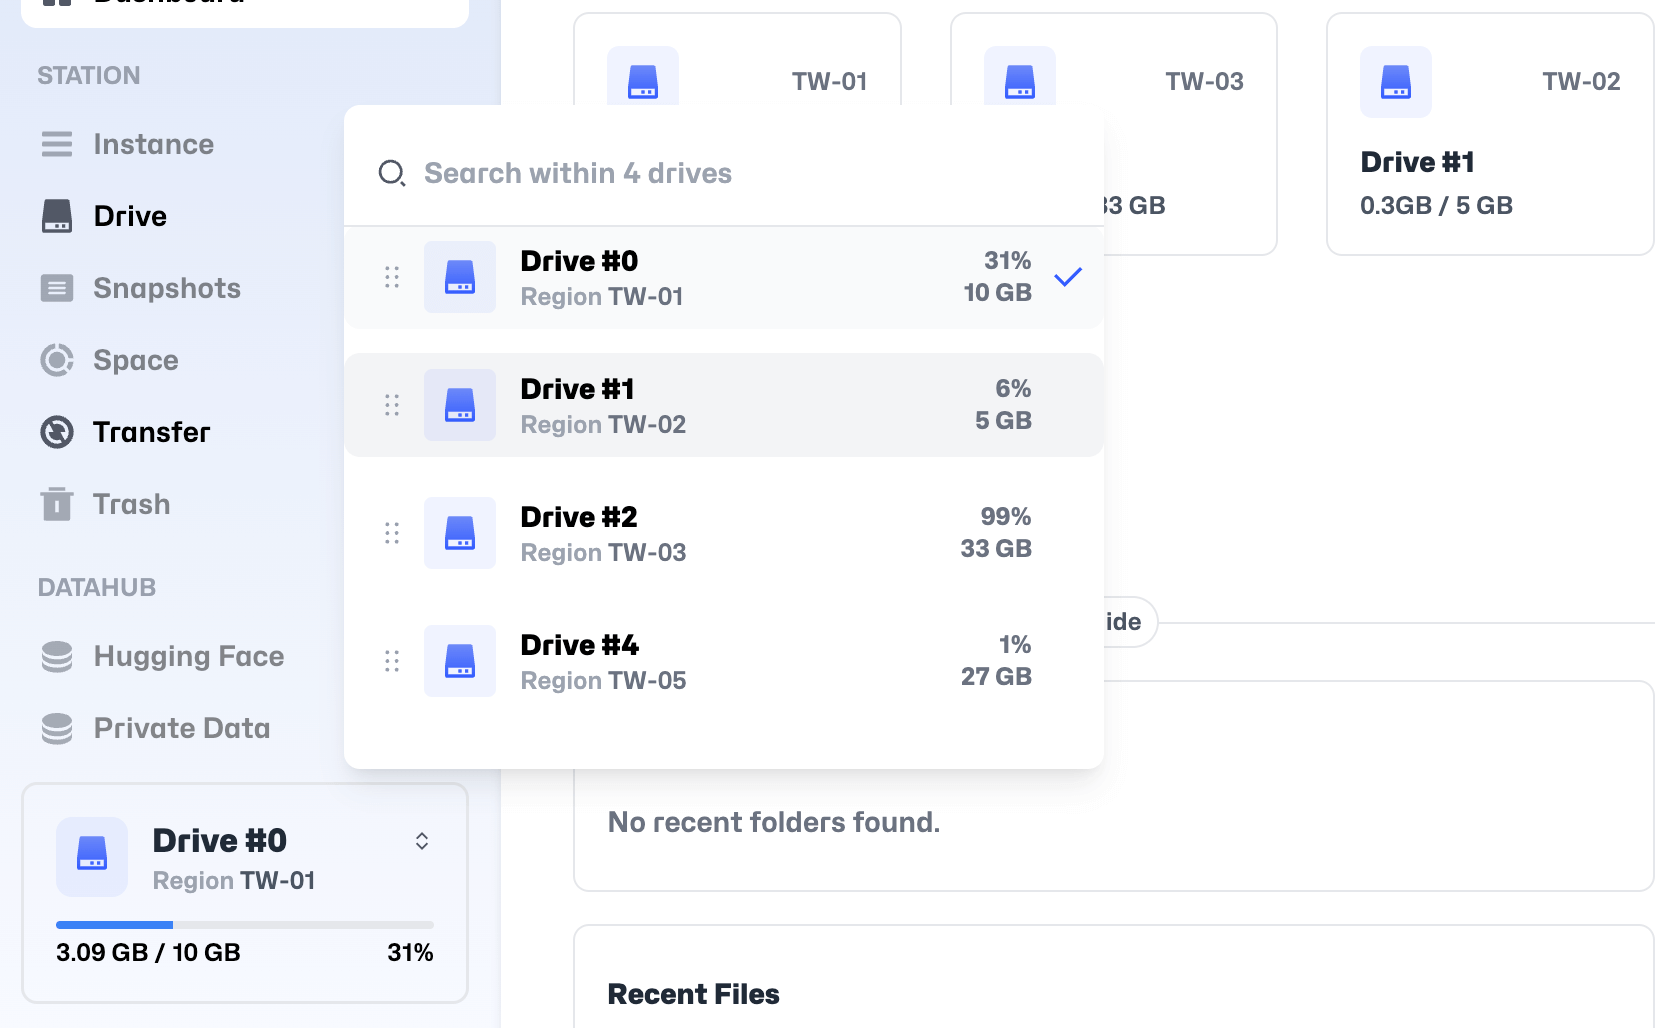
Click the Drive #0 menu in the bottom-left corner to expand and view all your Drives across different regions, as shown below:
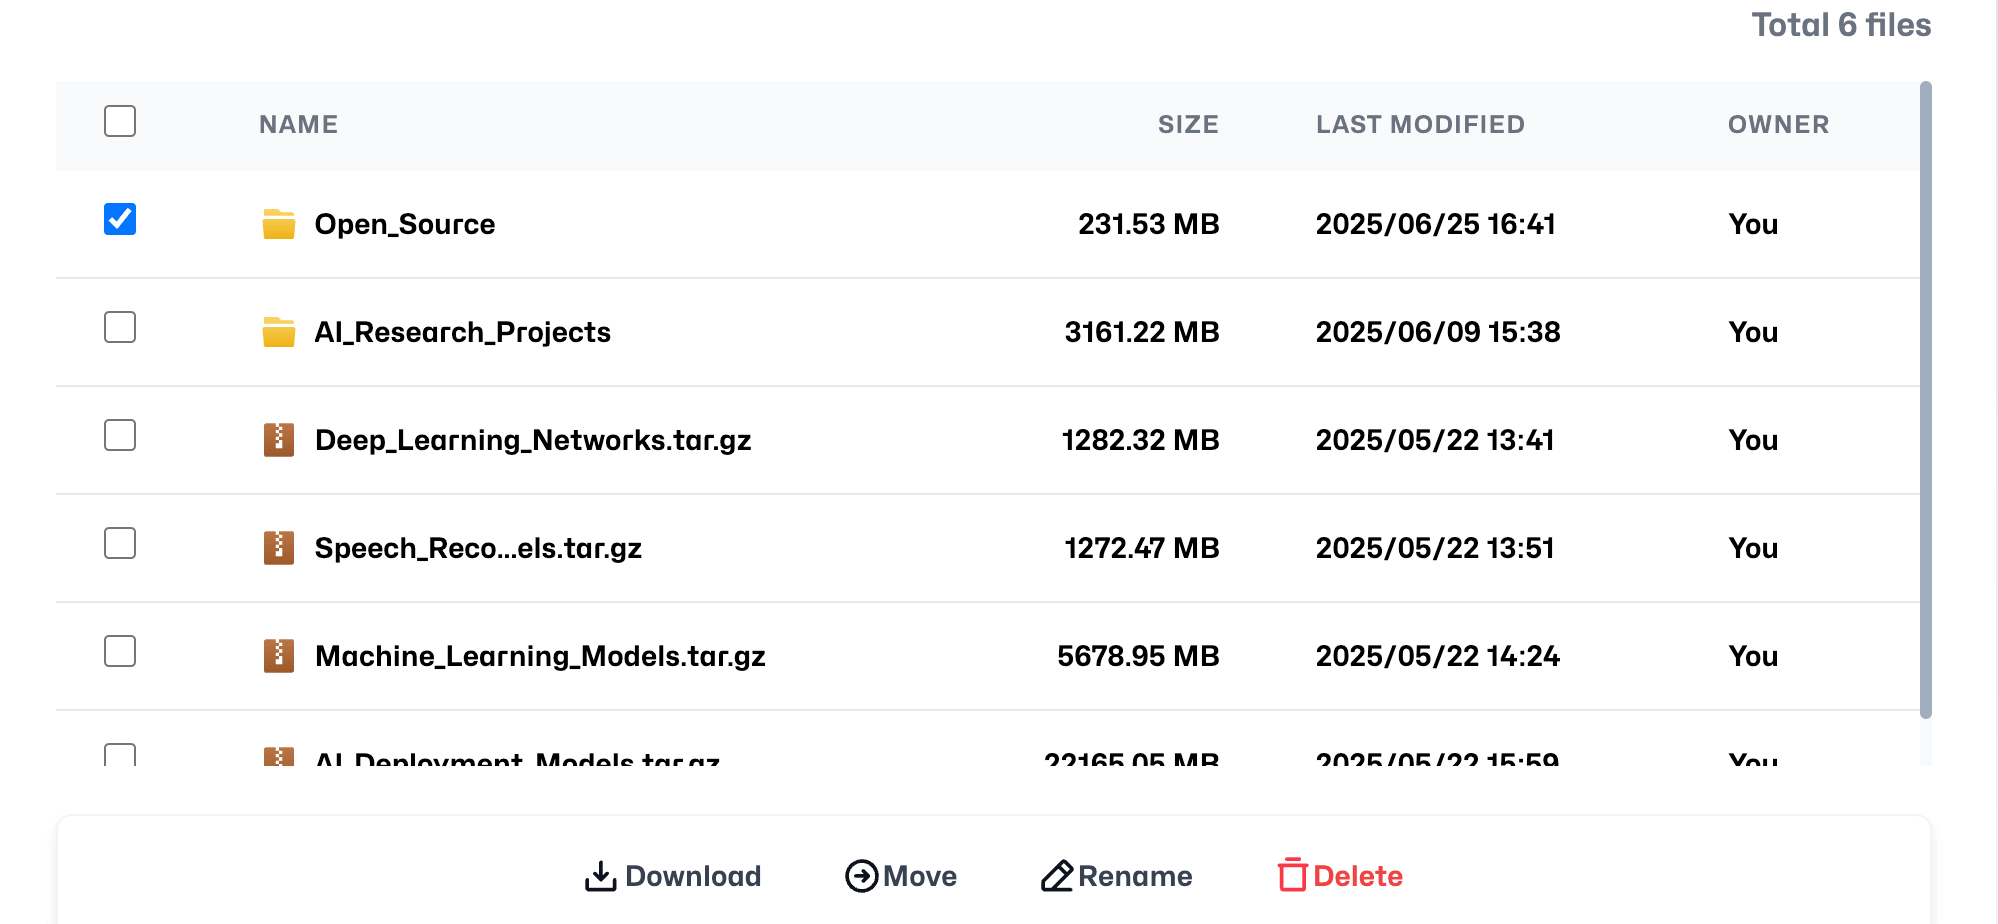
After selecting a Drive, you’ll see a list of files and folders. When you select an item, four action buttons will appear at the bottom of the screen:
- Download: Download files/folders to your local device
- Move: Move items to another directory
- Rename: Rename files/folders
- Delete: Delete files/folders
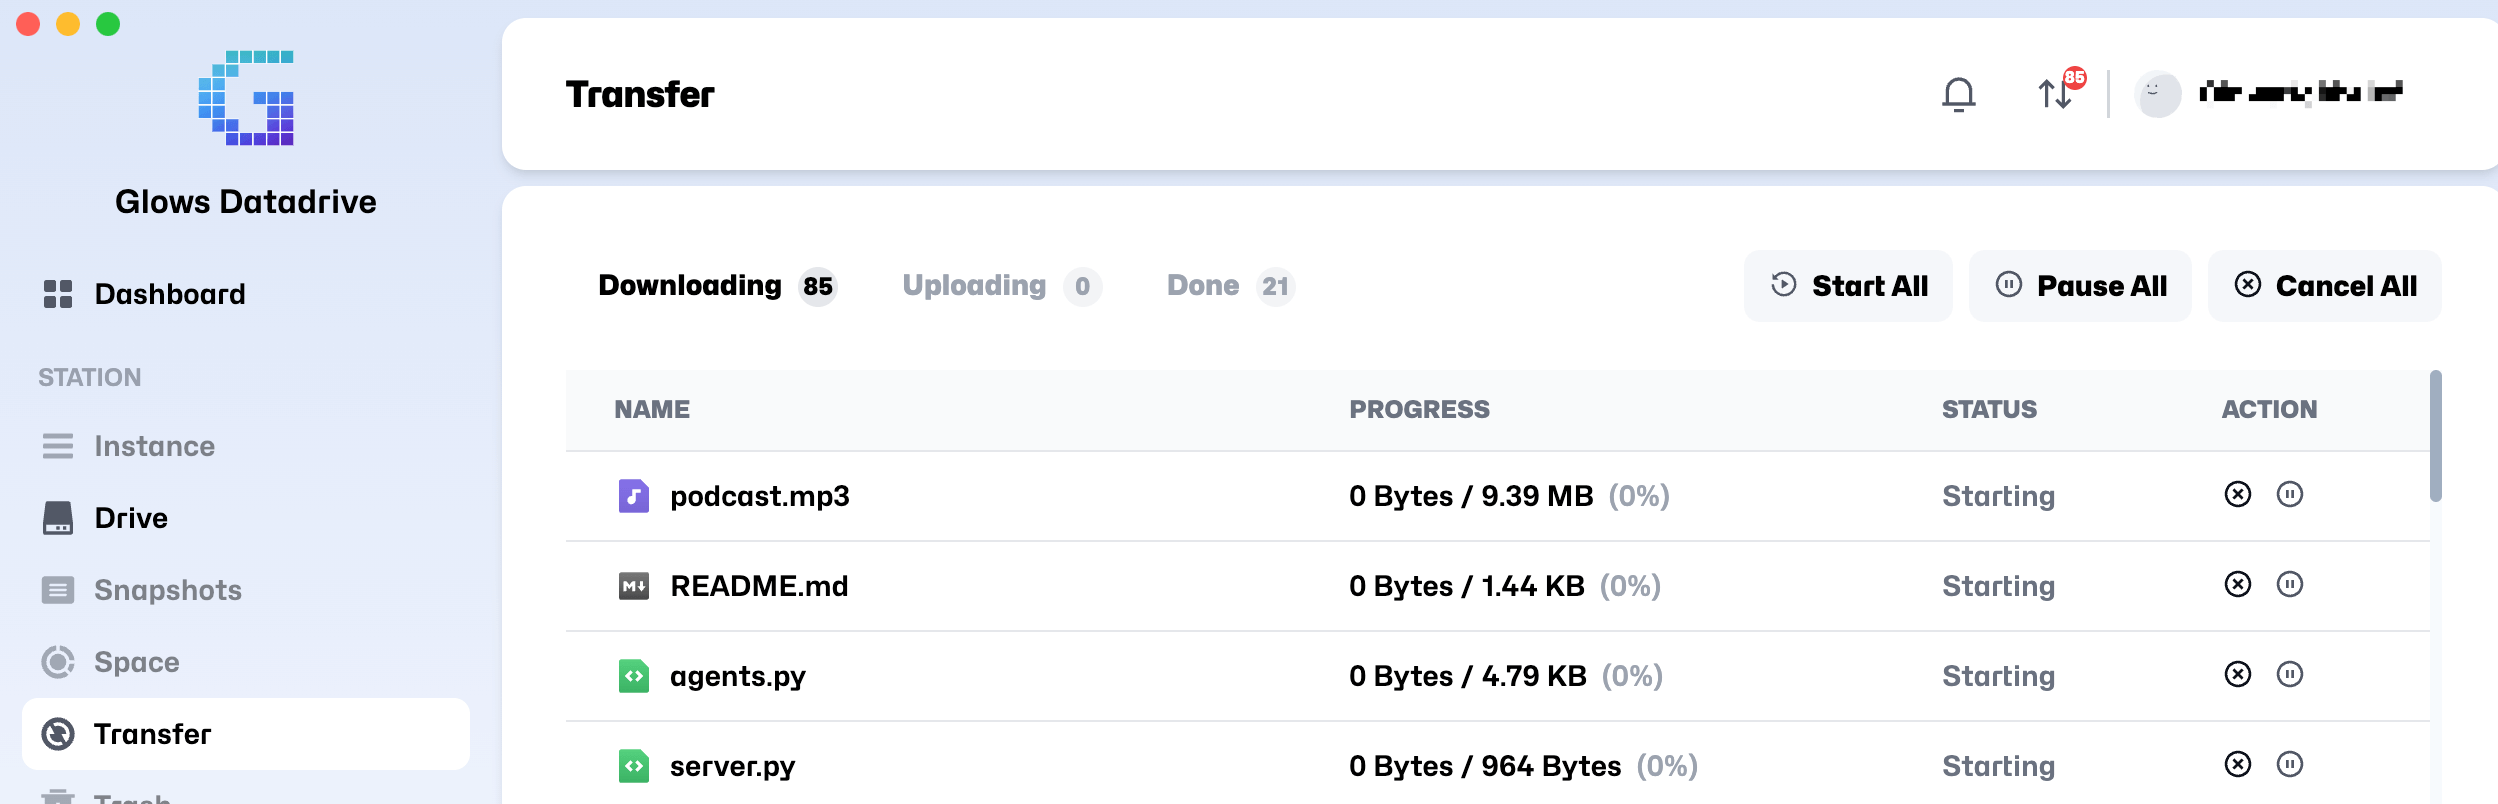
Download Progress
Once you start downloading, you can check the progress under the Transfer tab.
Step 4: Upload or Import Files/Folders
Click the Upload or Import button to upload or import files/folders to your cloud Drive in three ways:

1. Upload Directly
Select Upload File or Upload Folder to browse your local device and choose the files or folders you want to upload.
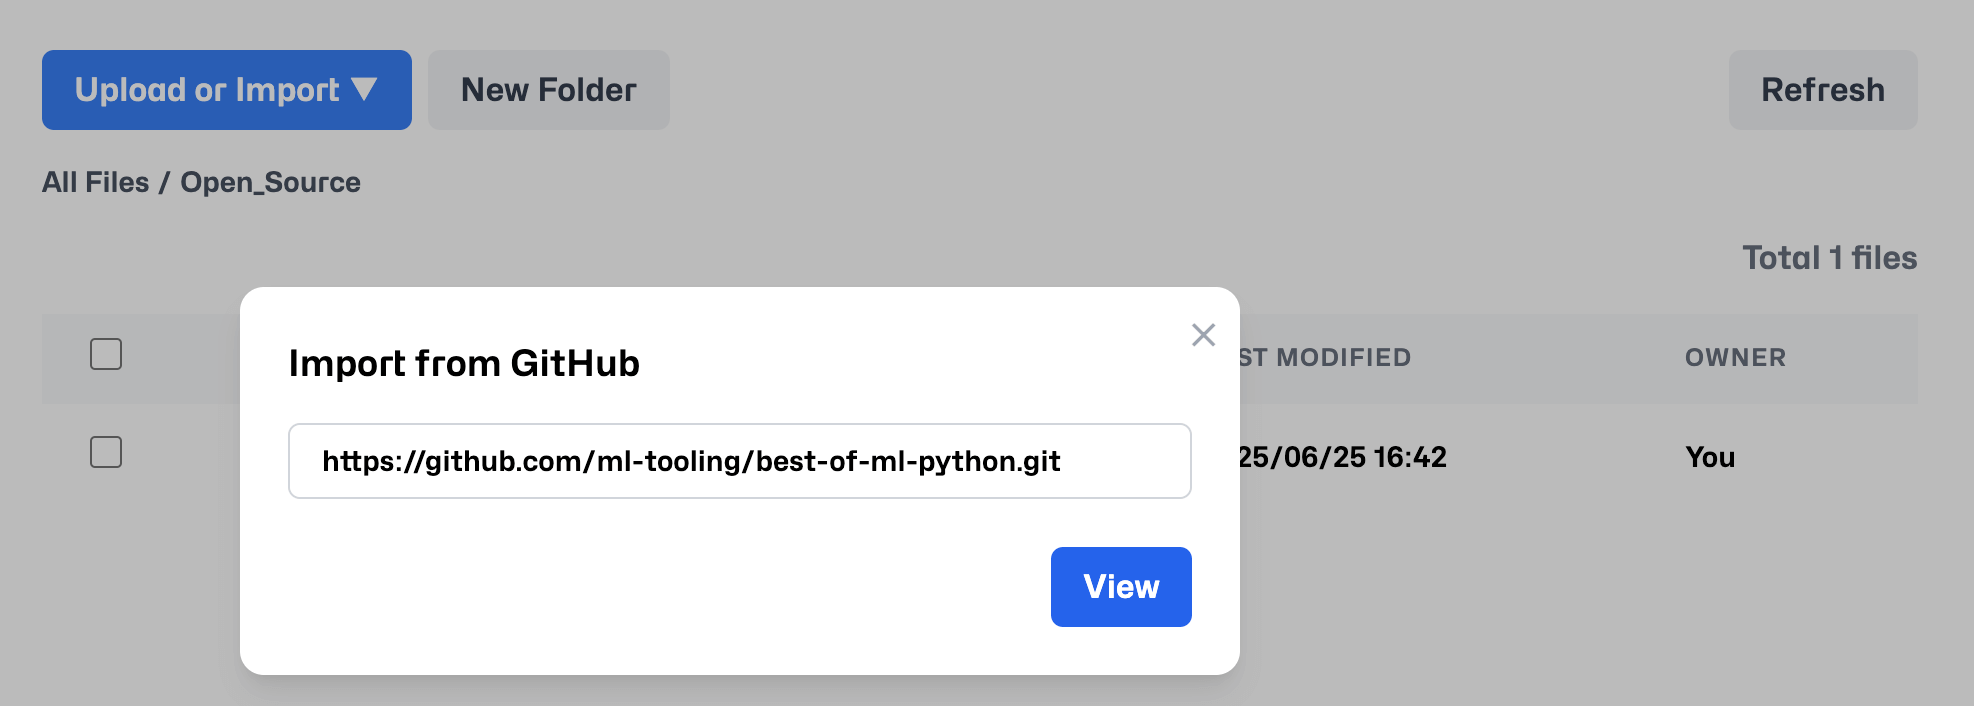
2. Import from GitHub
- Click
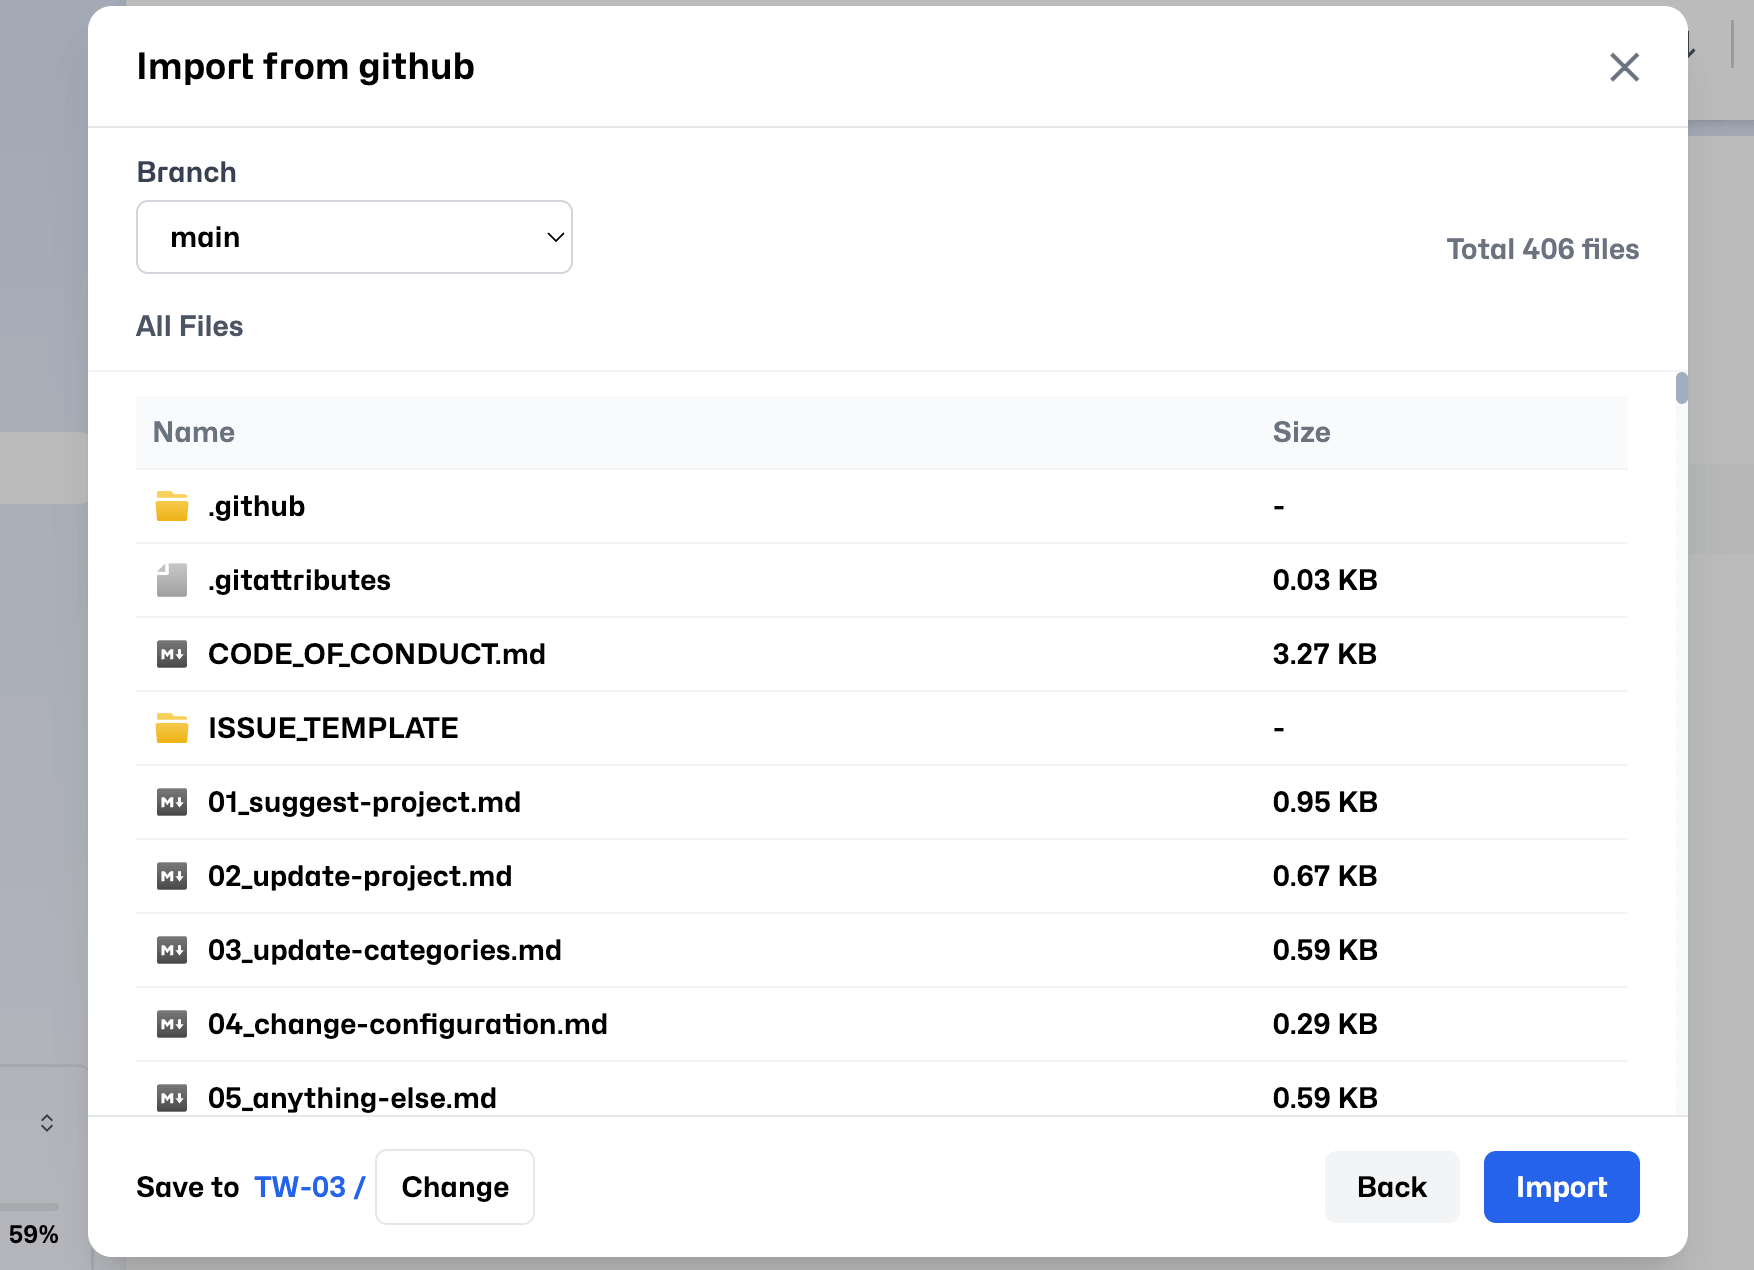
Import from GitHub, enter your project link, and clickView. - In the GitHub file explorer, select the branch or files you want to import and click
Importto start.

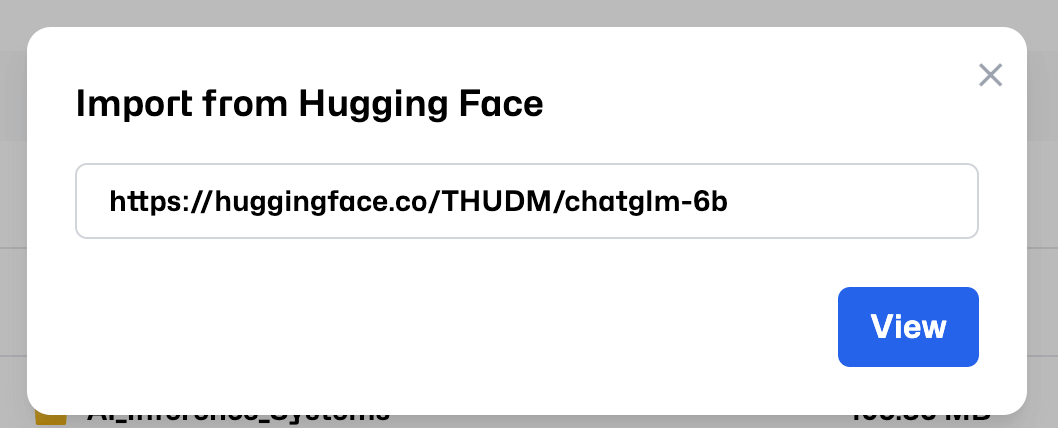
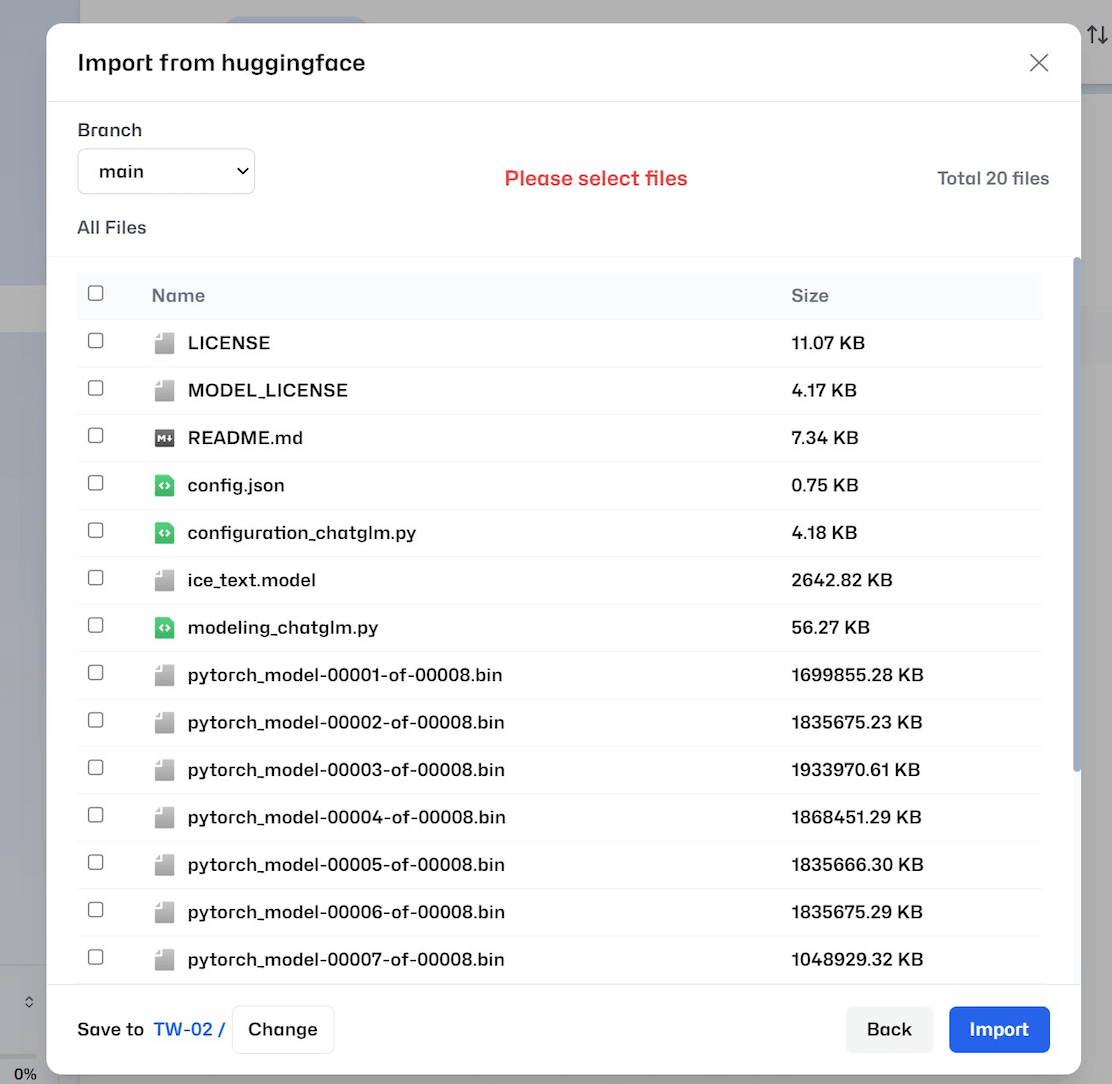
3. Import from Hugging Face
- Click
Import from Hugging Face, enter the project link, and clickView. - Browse and select the files or folders you want to import from the Hugging Face file explorer, then click
Importto proceed.
Upload Progress
You can check upload progress in the Transfer tab. Once complete, your files will appear in the selected Drive.
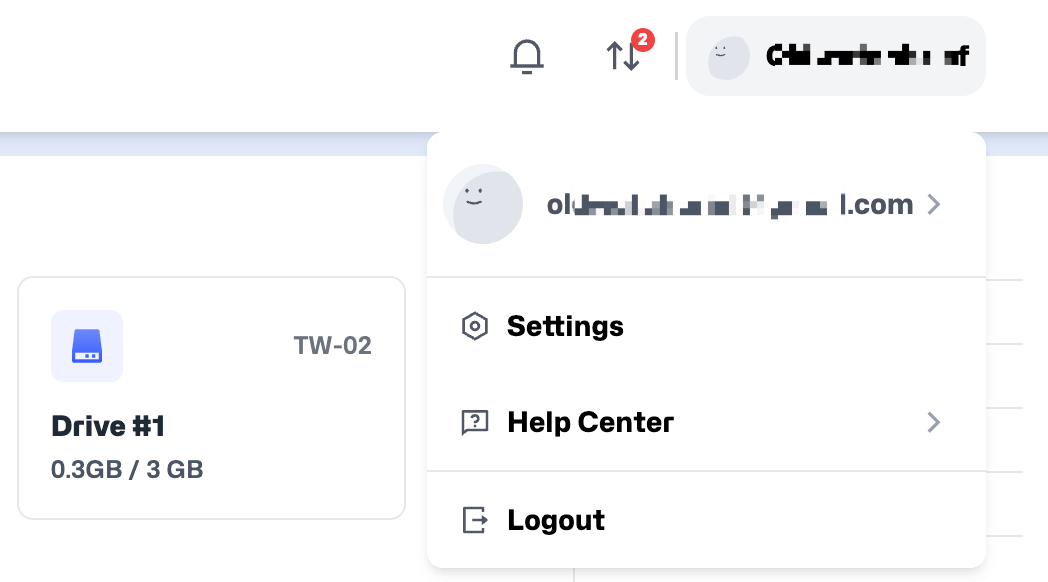
Step 5: Other Settings
Click your avatar icon in the top-right corner and select Settings to configure additional options.
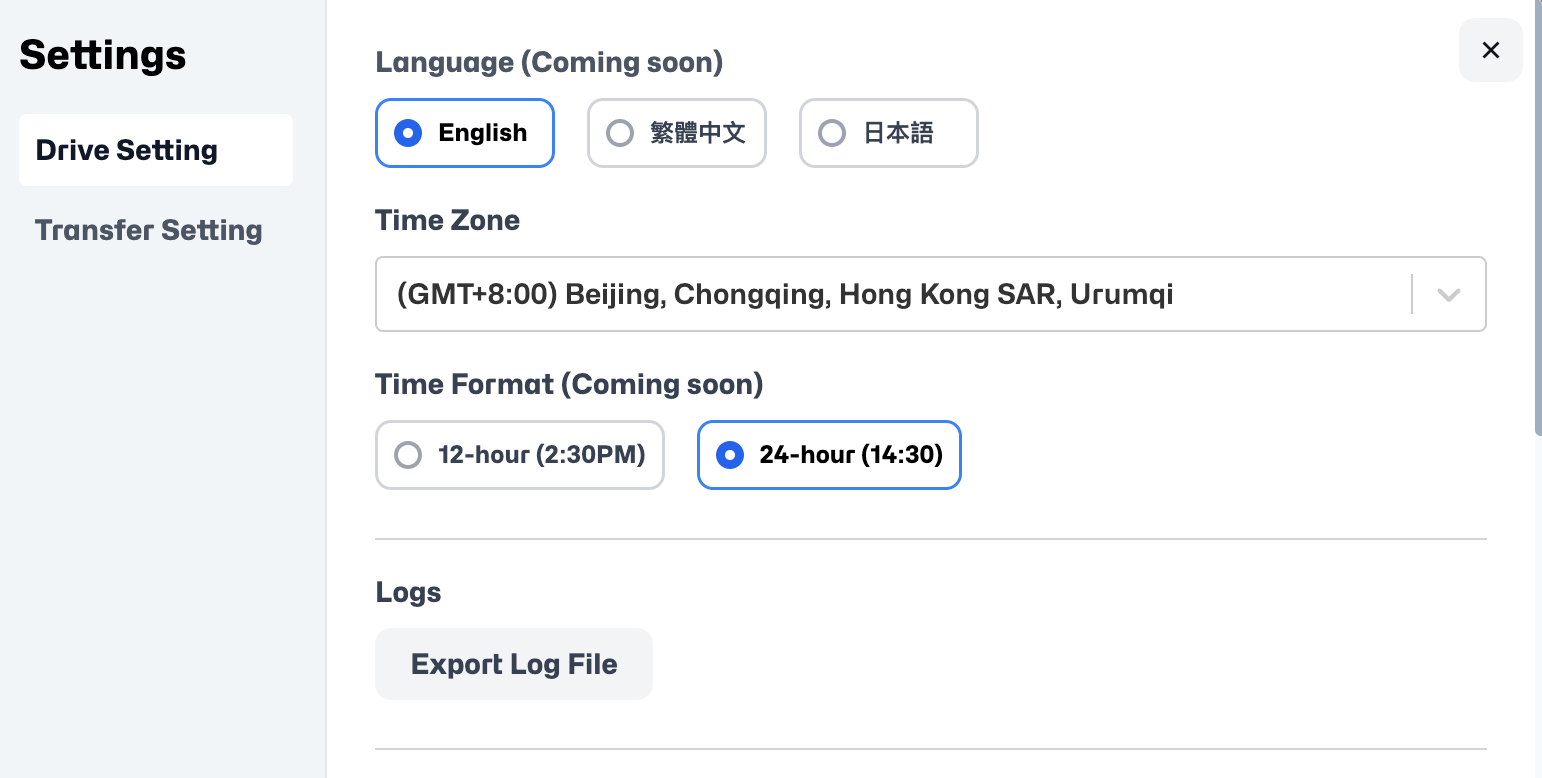
Drive Setting
- Change language, time zone, or 12/24-hour format.
- If you encounter any issues, click
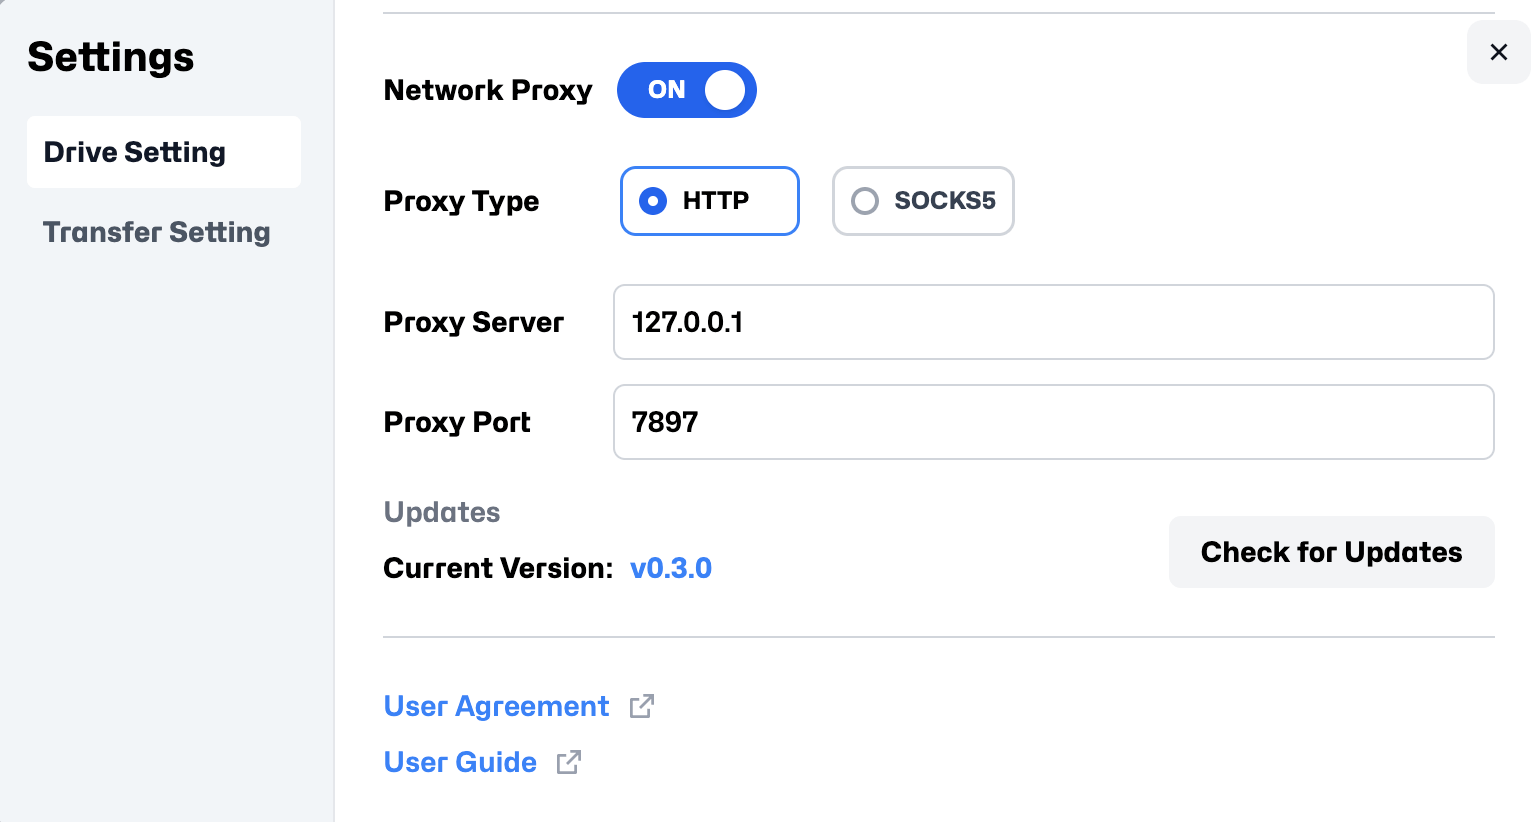
Export Log Fileto generate a log for the Glows.ai team to help troubleshoot. - If your download speed is slow or restricted by your network, you can set a
Proxy ServerandProxy Porthere. This allows the Datadrive Desktop App to connect via your local or corporate proxy server, improving upload and download performance. - Click
Check for Updatesto manually check for and install the latest version.
Transfer Setting
- When uploading large files or folders, enable
Prevent Sleep When Cloud Drive is Activeto prevent your computer from sleeping and interrupting the transfer. - Use Download Directory to change the default location for downloaded files.
- If you need to download Hugging Face resources that require authentication, you can set your Hugging Face Token here.

Contact Us
If you have any questions or suggestions while using the Datadrive Desktop App, feel free to reach out to us:
Email: support@glows.ai
Line: https://lin.ee/fHcoDgG