How to Download and Upload Cloud Drive Data on Glows.ai
This guide will walk you through how to download from and upload to cloud storage services such as Google Drive on a Glows.ai machine. Please ensure the image you selected includes SSH or JupyterLab features.
Step 1: Create an Instance
First, create a new instance on Glows.ai according to your needs. If you're not sure how, refer to the Create a New Instance Guide.
Step 2: Install Rclone
Rclone is a powerful command-line tool for synchronizing files with various cloud storage services. It supports encryption, compression, and multi-threaded transfers, making cloud and local data management more efficient.
Once your instance status is Running, go to the Access section and click the Open button next to port 8888 to launch the JupyterLab interface.
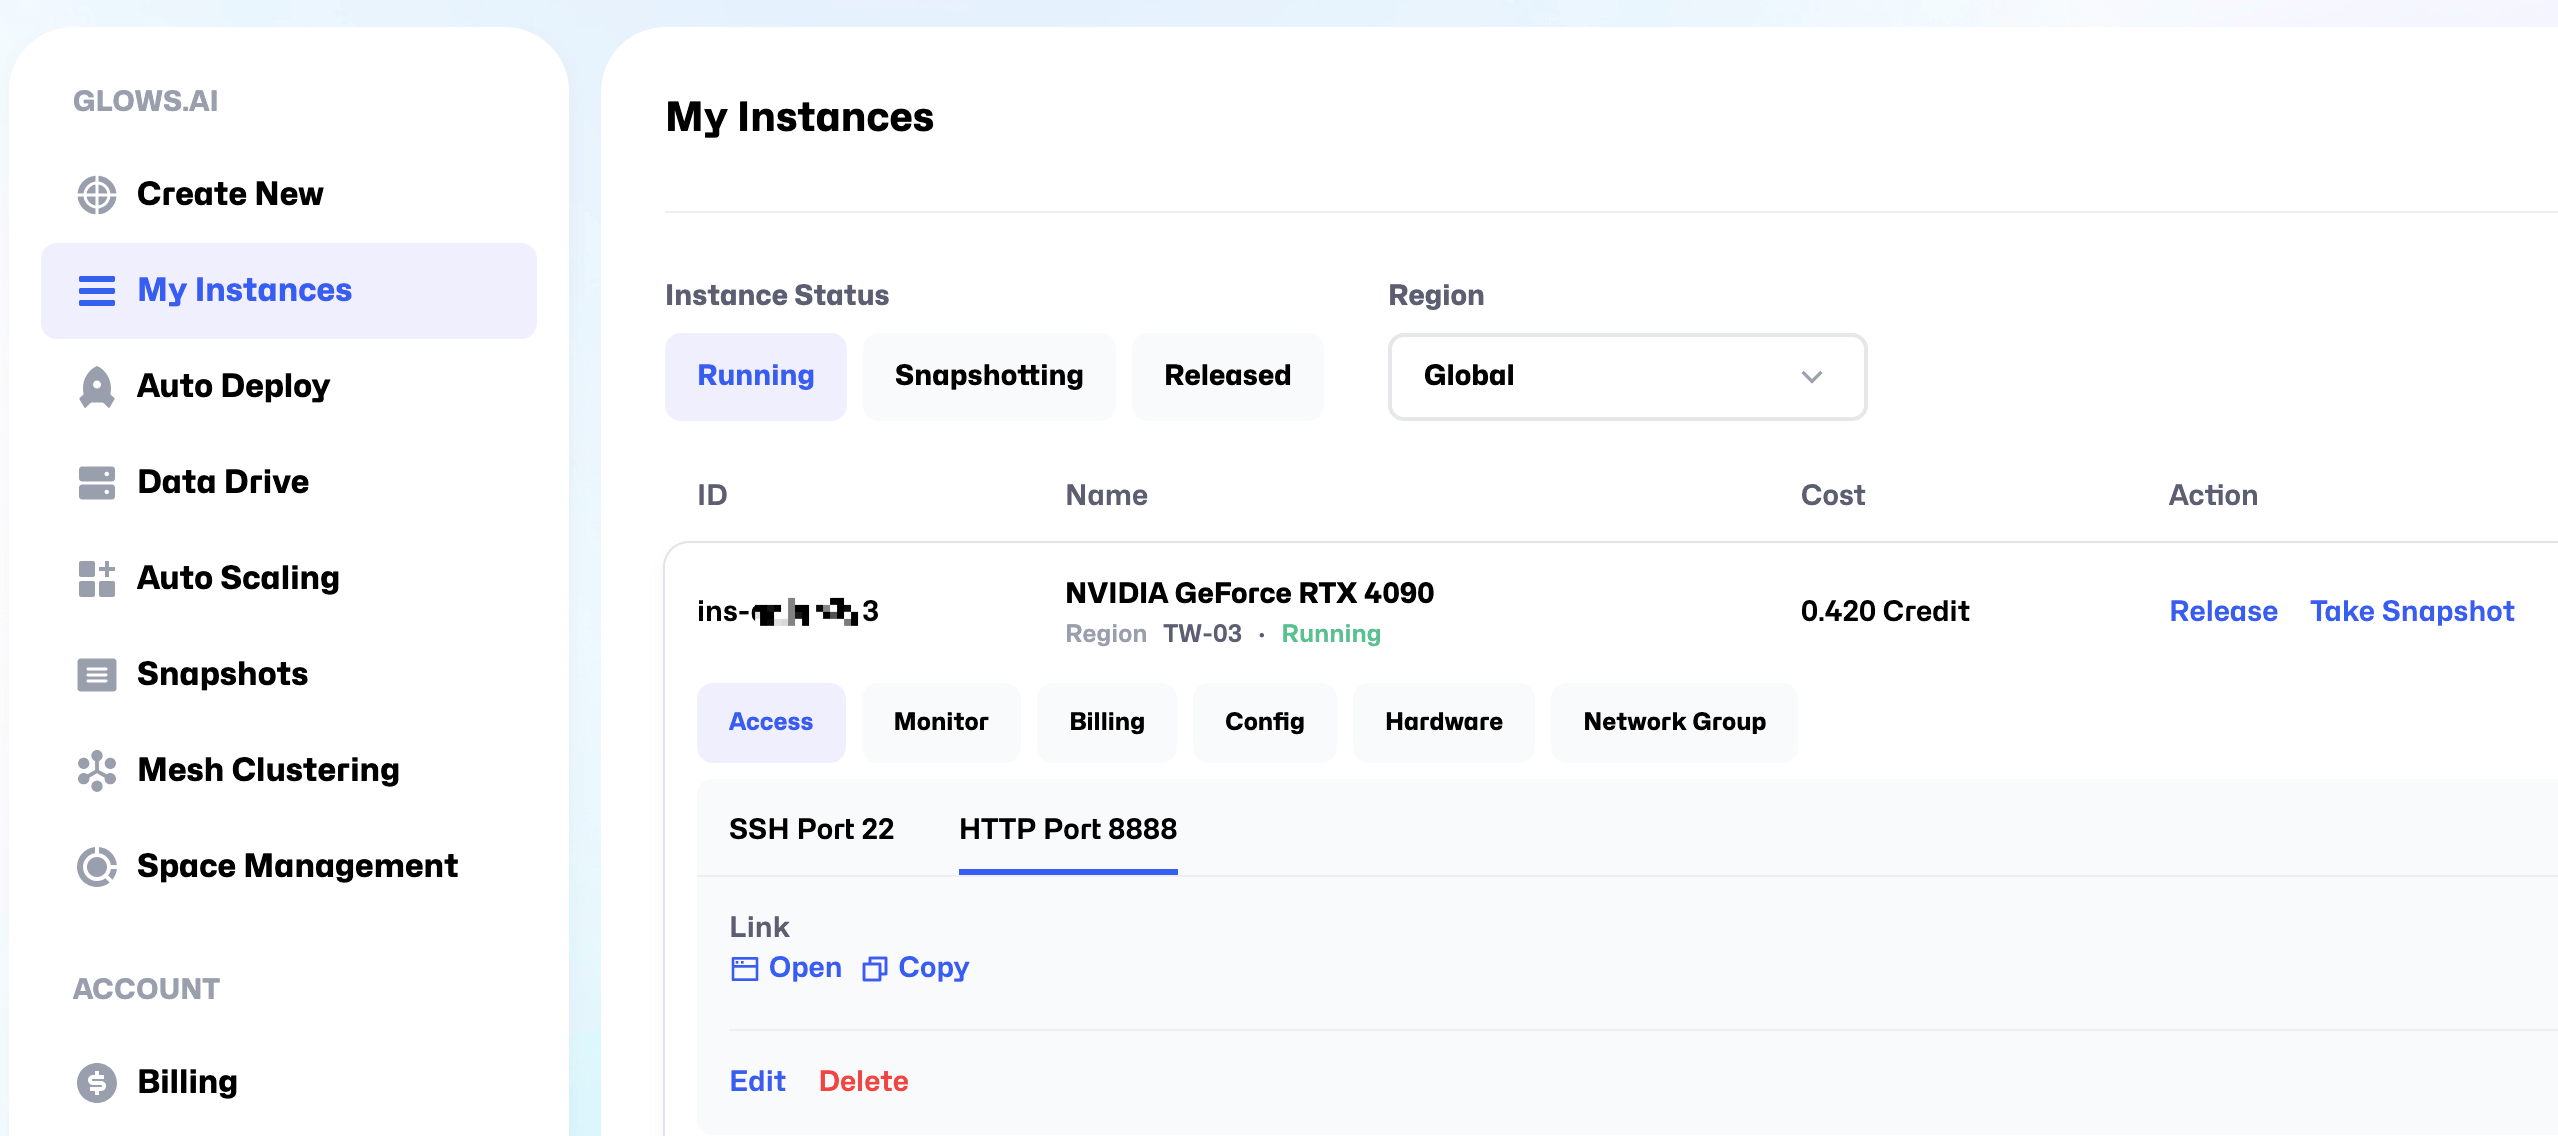
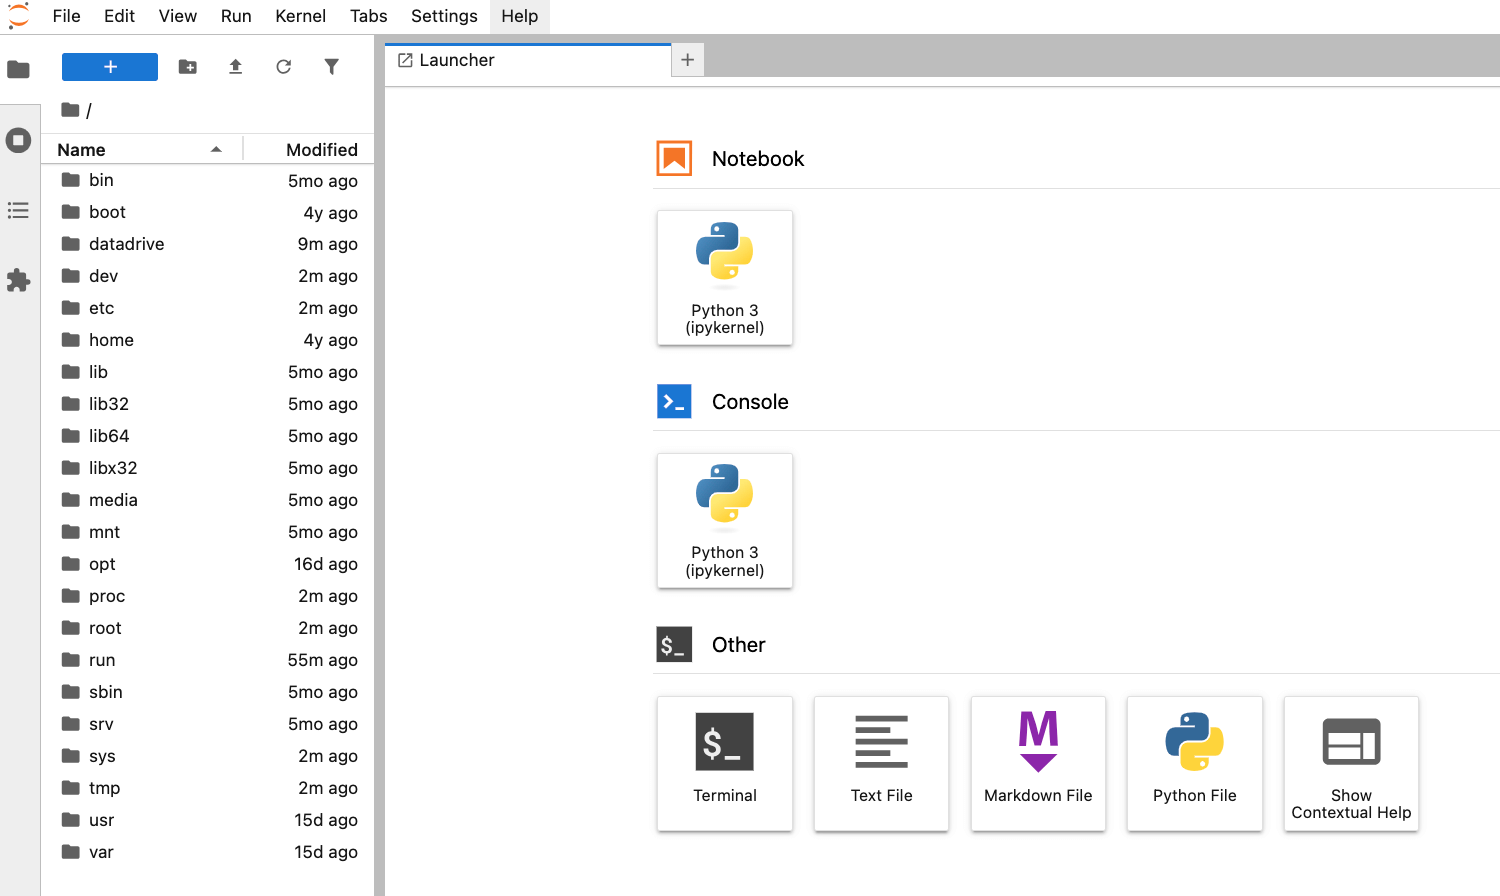
Inside JupyterLab, click the Terminal icon in the Launcher to open a terminal.
Enter the following command in the terminal to install Rclone:
curl https://rclone.org/install.sh | bash
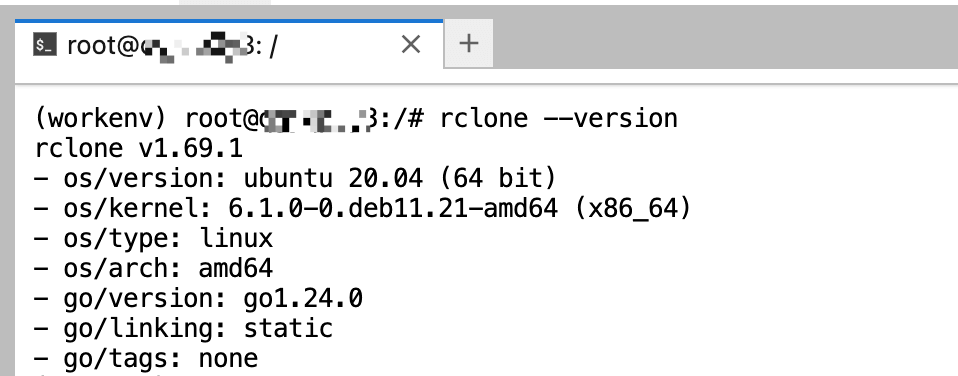
After installation, use the following command to verify that Rclone was installed correctly:
rclone --version
Step 3: Configure Google Drive
Start the configuration process by entering:
rclone config
Follow the on-screen instructions:
-
Type
nto create a new remote (remote is a storage configuration in Rclone that represents your cloud drive; you can name it however you like for easy reference later). -
Then, name your remote (e.g.,
glowsormydrive), so you can refer to it easily in commands.

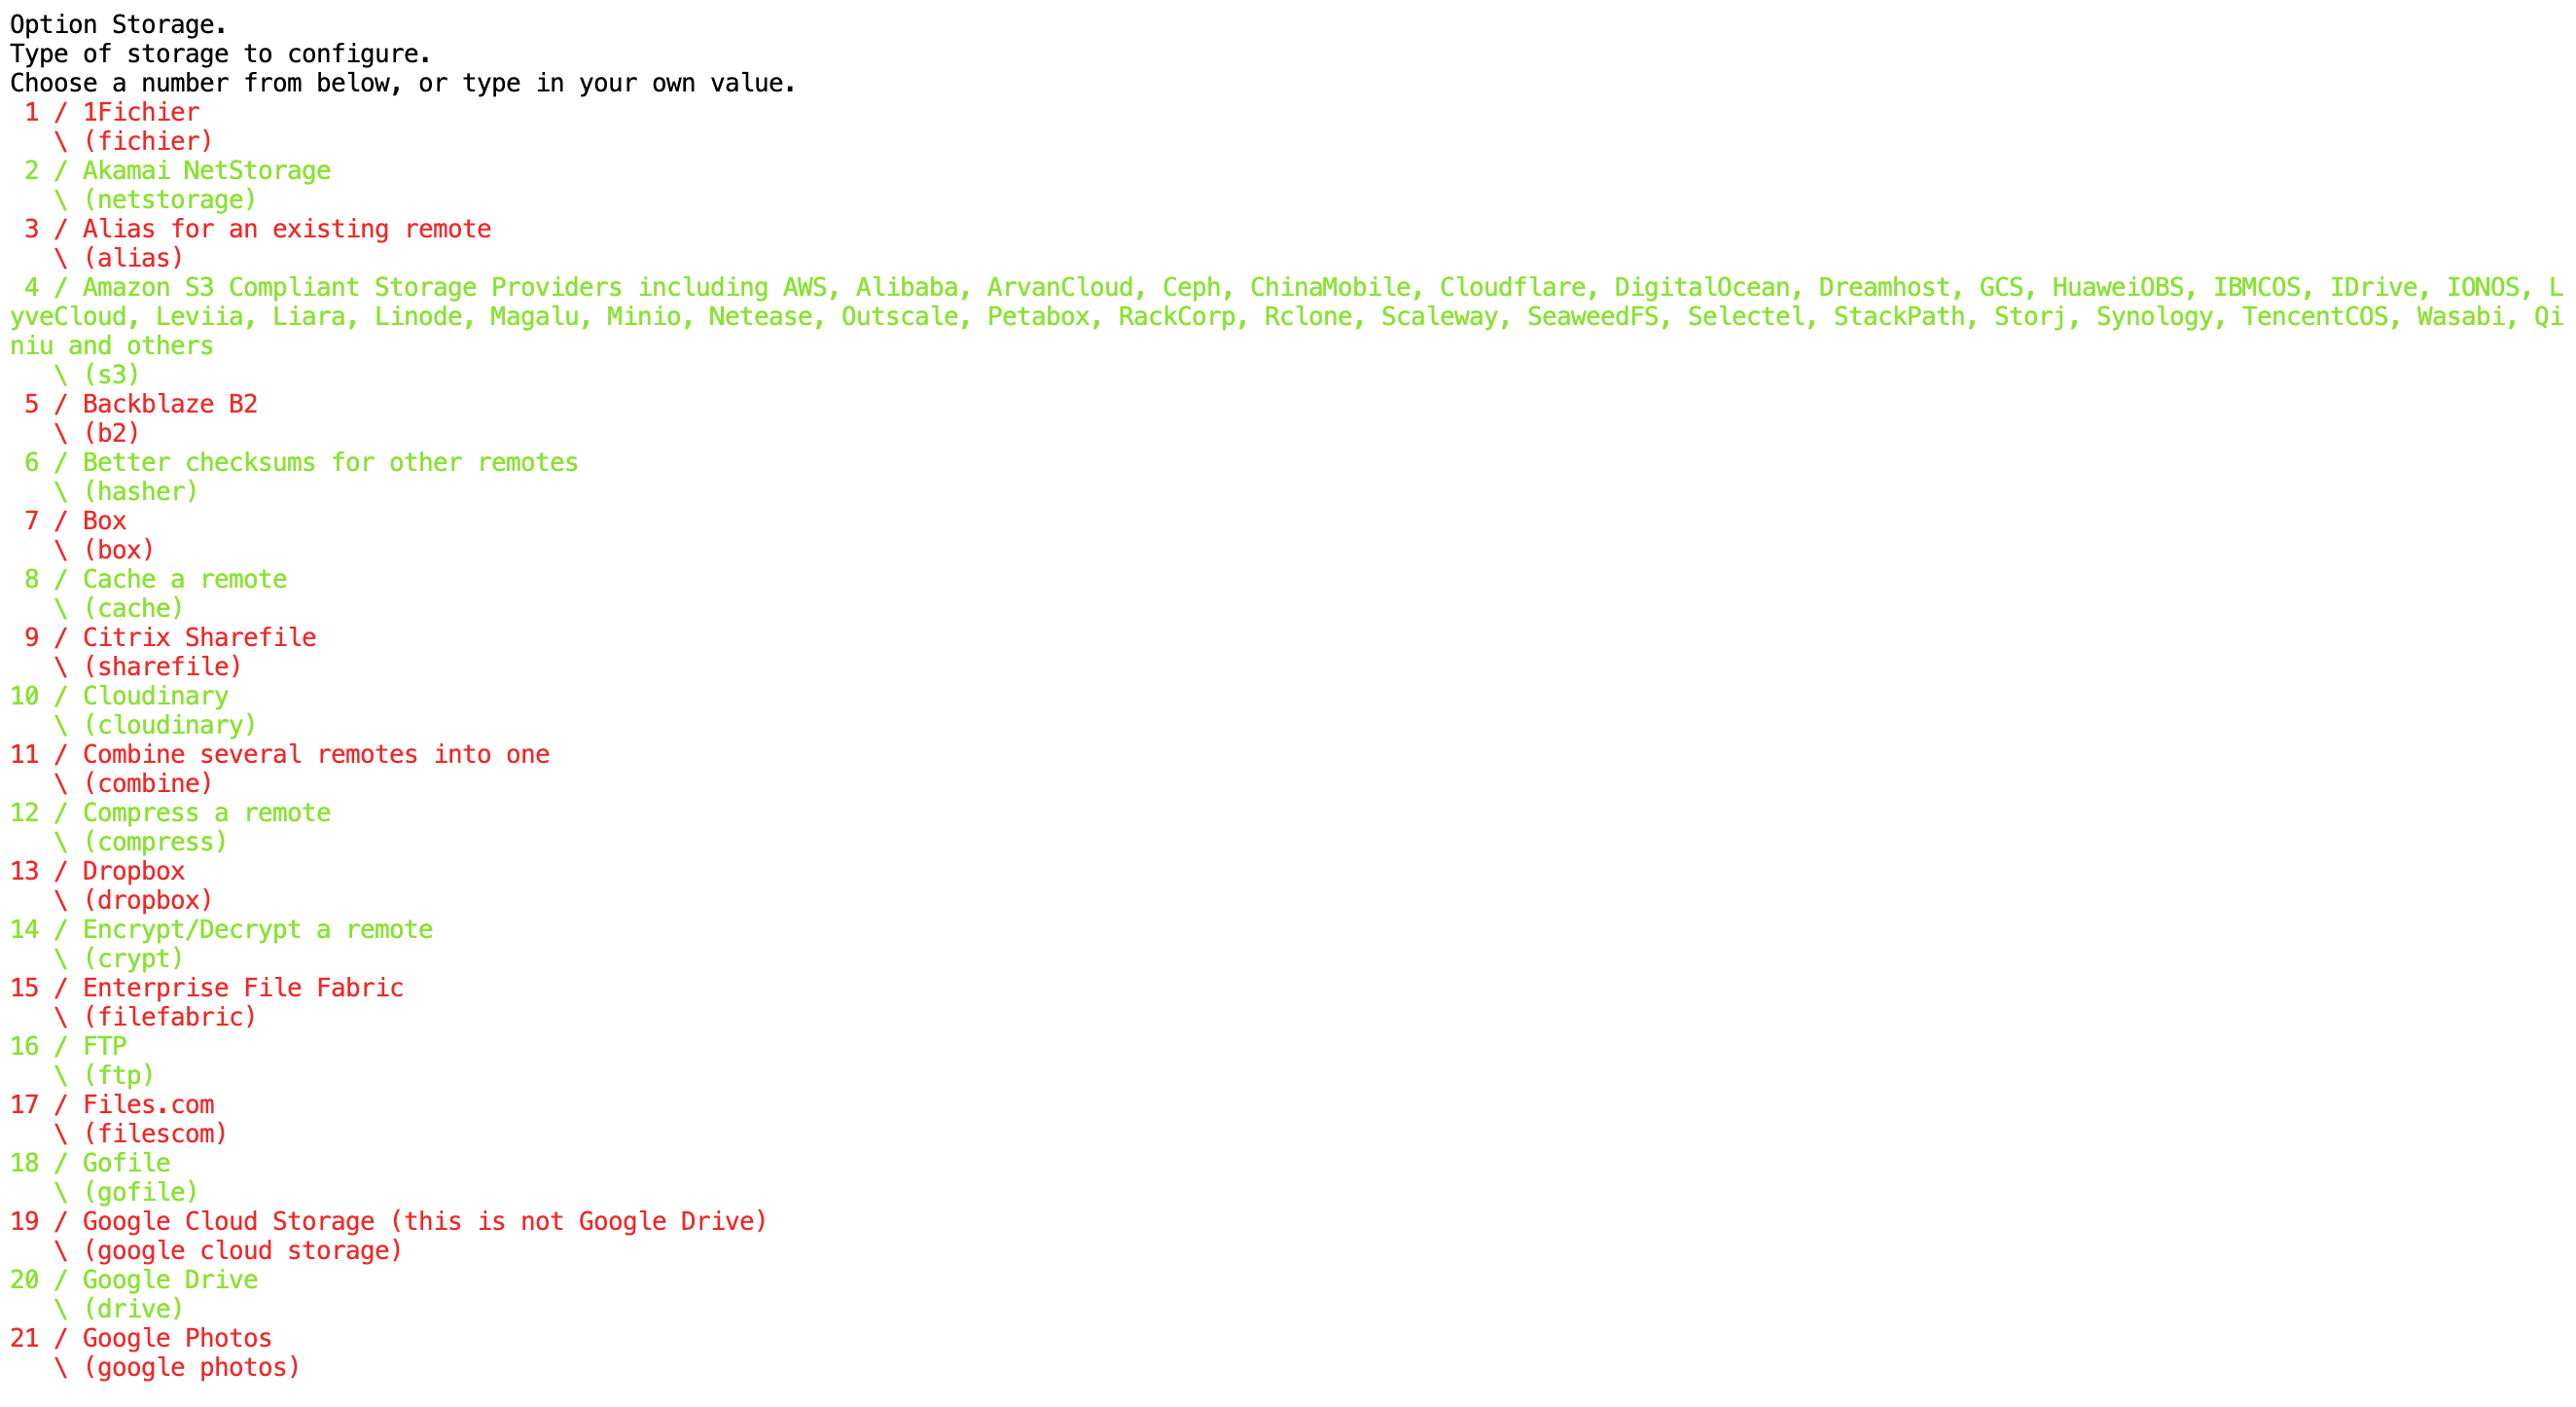
Next, choose the cloud storage service you want to connect to. In this guide, we'll use Google Drive. Enter drive or the corresponding number (e.g., 20).

- For
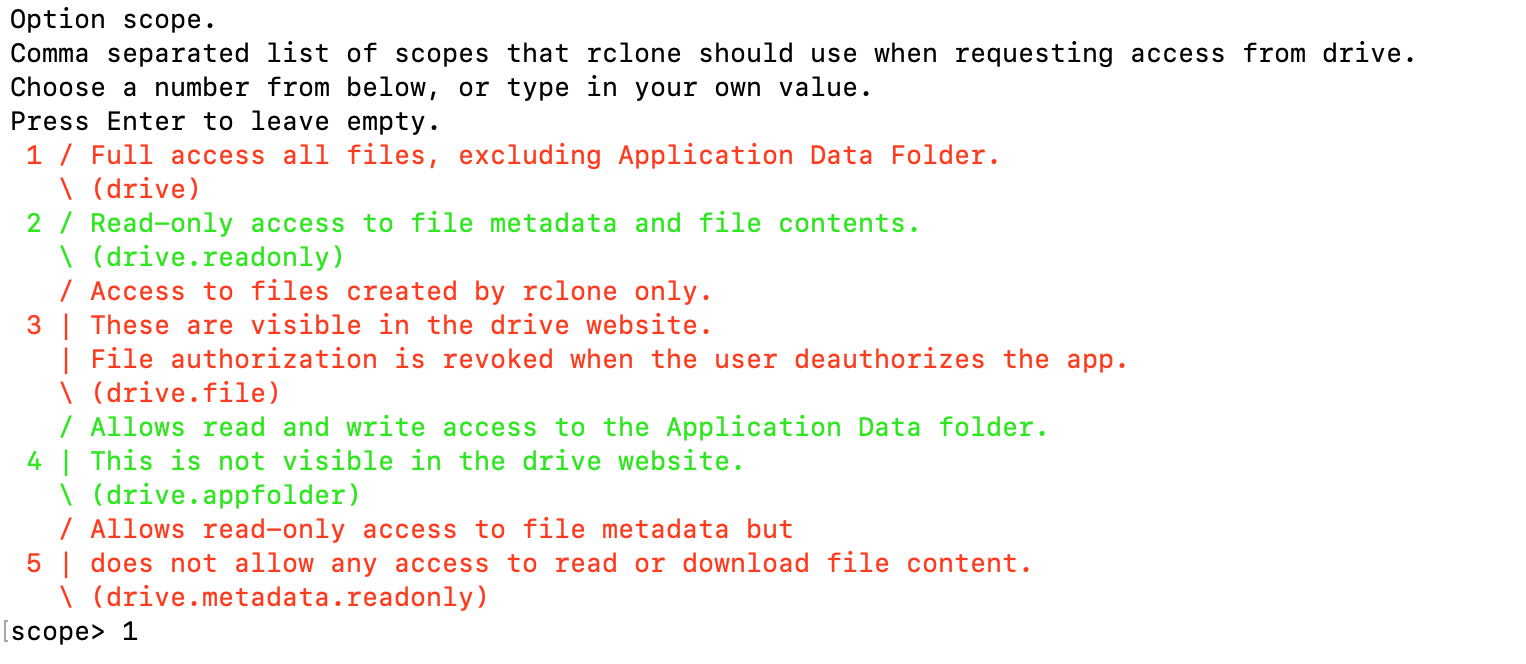
client_idandclient_secret, simply pressEnterto use the default values. - For permissions, enter
1to grant full access.
You can press Enter to accept the default values for the remaining options.
Note: Choosing an Authentication Method
At this stage, you’ll be prompted to authenticate with Google Drive using one of two methods:
- Method 1: Authenticate directly using your browser (only works for local machines).
- Method 2: Use Rclone installed on your local computer with SSH port forwarding ✅ Recommended
Since authentication must occur from the Glows.ai server, simply clicking the link in your local browser won't work. We recommend using method 2:
Open your local terminal (CMD/Terminal) and run the following command to initiate SSH port forwarding:
ssh -p 23482 -NL 53682:localhost:53682 root@tw-02.access.glows.ai
Format explanation:
ssh -p [SSH port] -NL 53682:localhost:53682 root@[SSH host]

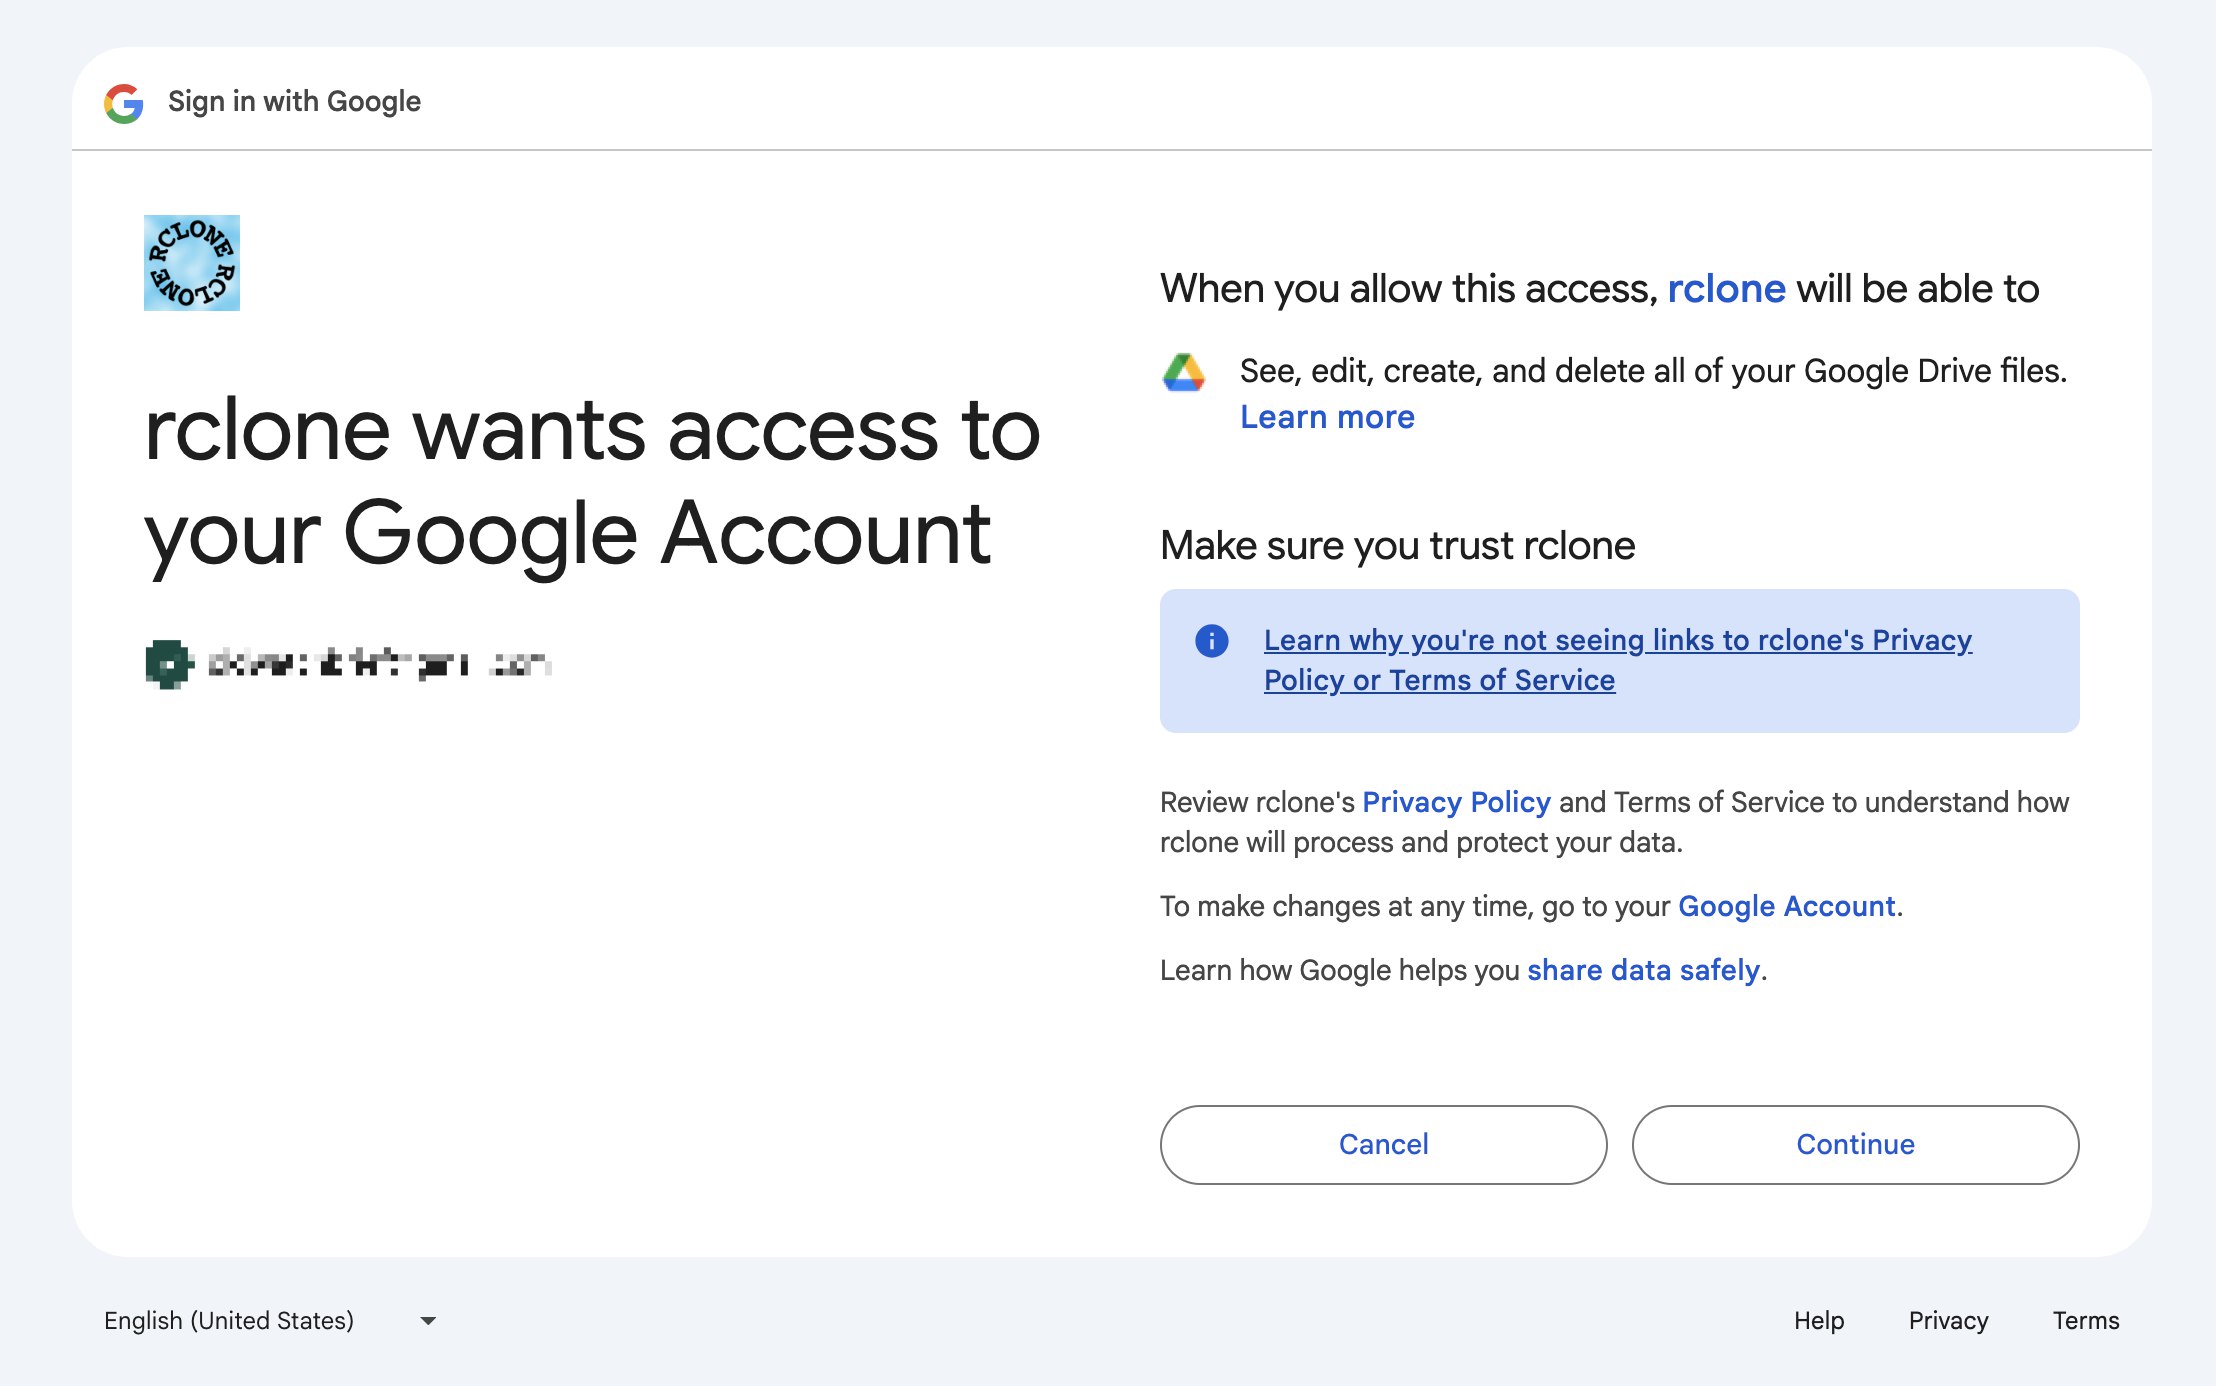
After entering the SSH password and pressing Enter, if no errors appear, the port forwarding is successful. Then, open the Google authentication link provided in the Rclone terminal in your local browser, sign in with your Google account, and authorize access.
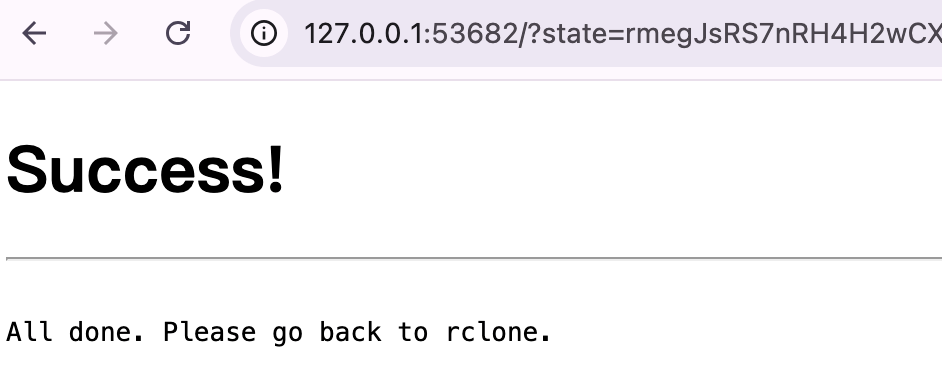
When the page shows Success!, authentication is complete.
Back in the server's Rclone setup, when asked about setting up Team Drive, press Enter to skip. You should then see the Configuration complete message along with the setup details.

Step 4: Uploading and Downloading Files
Downloading from Google Drive to Your Instance
# Format:
rclone copy [Remote Name]:[Google Drive file path] [Local path] --progress
# Example:
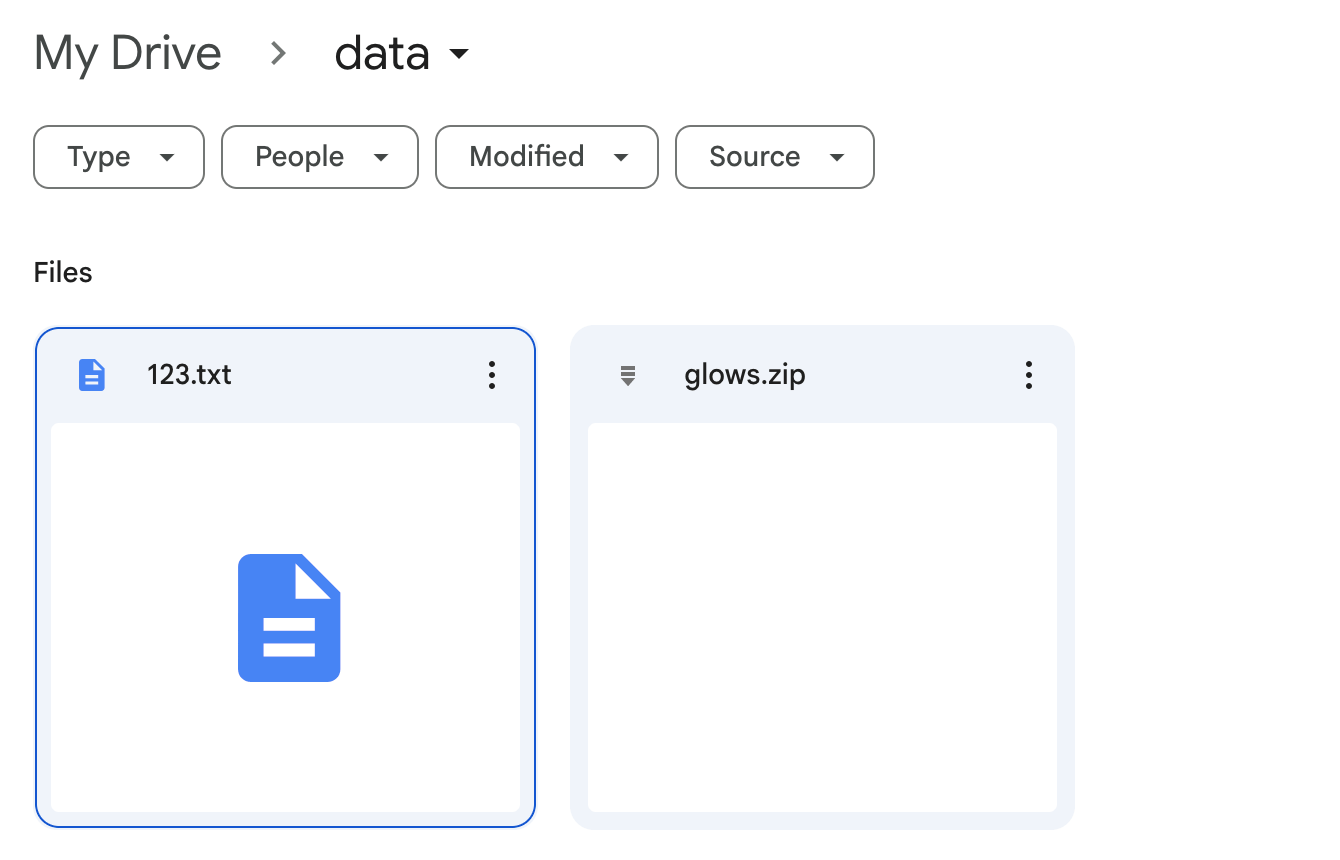
rclone copy glows:/data/glows.zip ./ --progress
This command downloads the file /data/glows.zip from Google Drive to your current local directory. The --progress flag shows the download progress.

Uploading from Your Instance to Google Drive
# Format:
rclone copy [Local file path] [Remote Name]:[Google Drive destination path] --progress

# Example:
rclone copy 123.txt glows:/data --progress
This command uploads the local file 123.txt to the /data folder in Google Drive.

Contact Us
If you have any questions or feedback while using Glows.ai, feel free to contact us:
Email: support@glows.ai